上篇介紹了如何架設 Nexus Repository 及如何設定開發環境連線到 Nexus Repository 下載外部的套件。本篇將介紹如何將自行開發的套件上傳到 Nexus Repository。
情境一:自行開發的套件
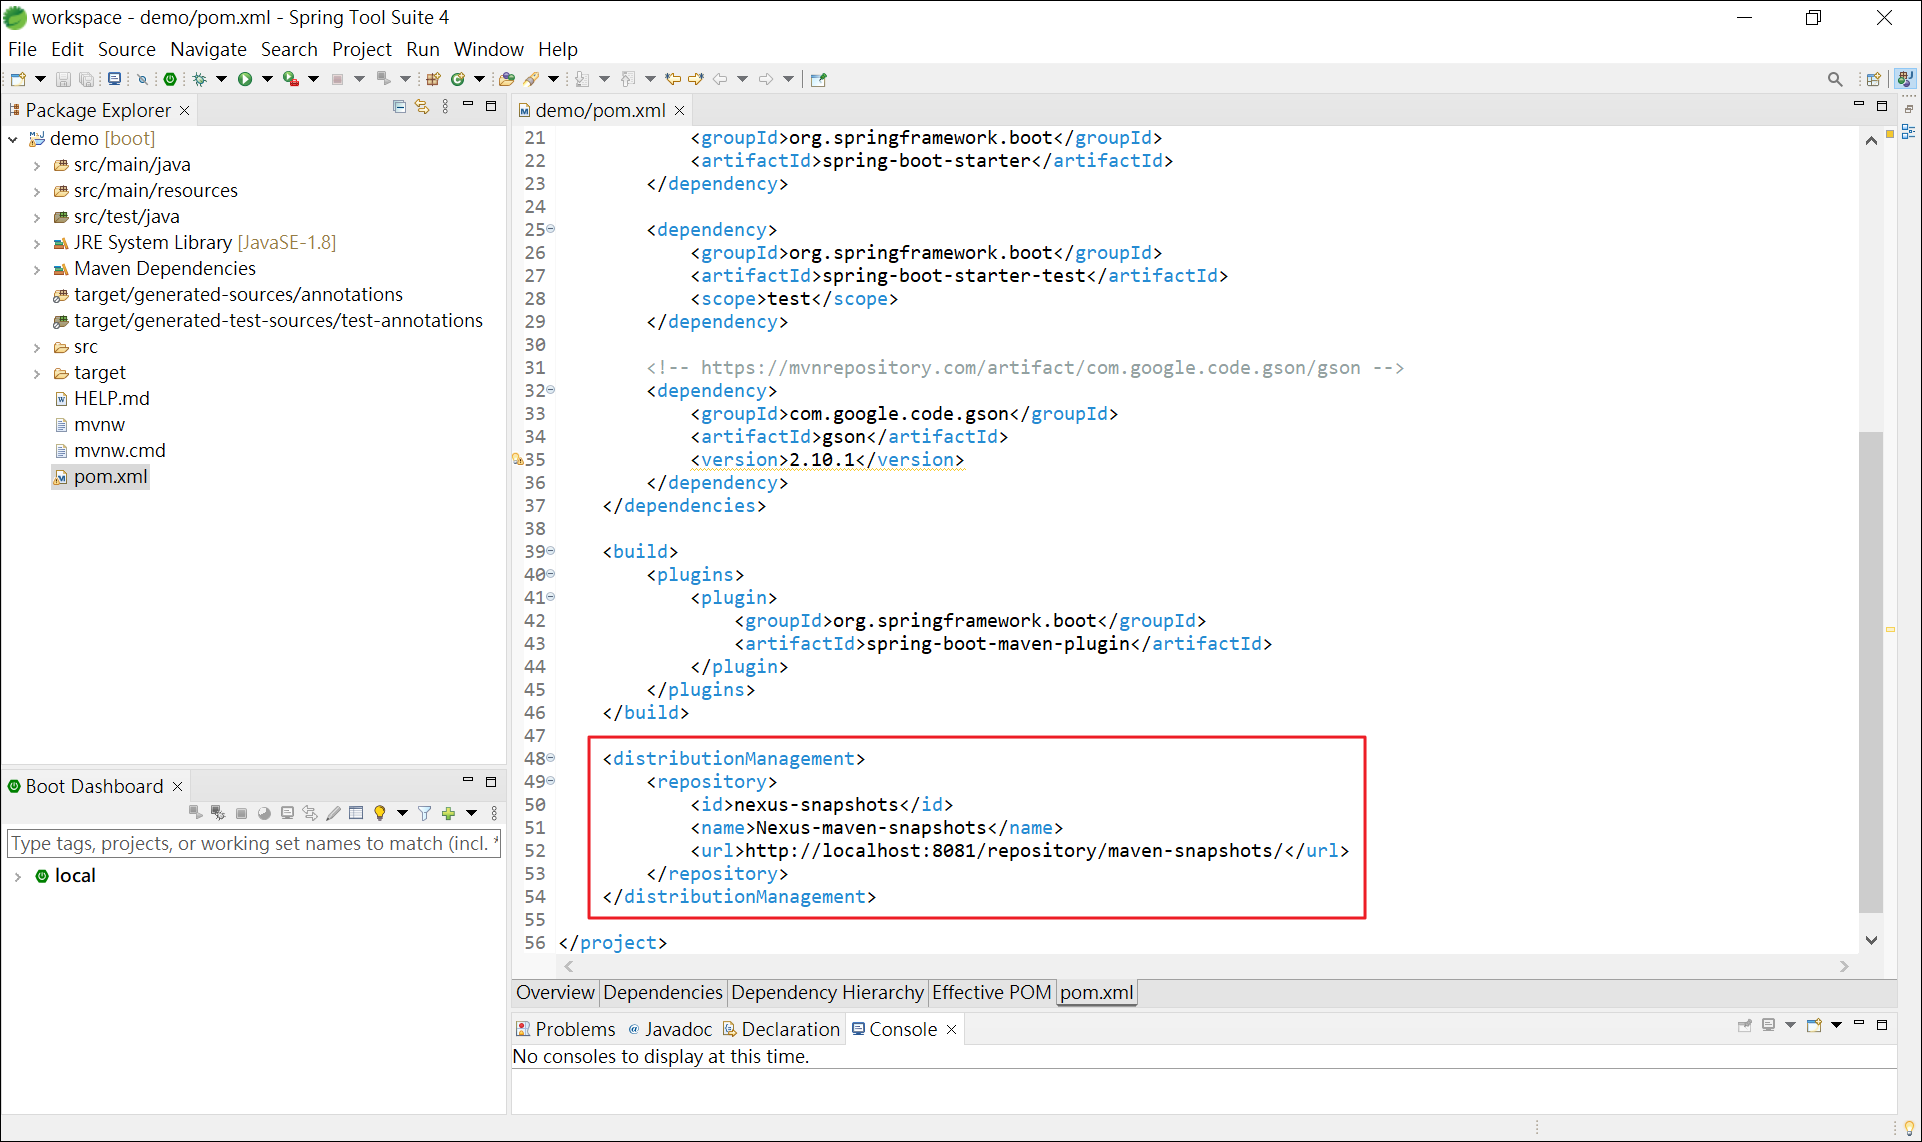
在 Maven 專案的 pom.xml 添加設定:
<distributionManagement>
  <repository>
    <id>nexus-snapshots</id>
    <name>Nexus-maven-snapshots</name>
    <url>http://localhost:8081/repository/maven-snapshots/</url>
  </repository>
</distributionManagement>
Note:
其中<url>標籤為「http://localhost:8081/repository/maven-snapshots/」,會上傳到 Nexus Repository 的 「maven-snapshots」repository,表示套件為「SNAPSHOT」,代表還在開發尚未穩定的版本;另外還有「http://localhost:8081/repository/maven-releases/」,會上傳到 Nexus Repository 的 「maven-releases」repository,表示套件為「RELEASE」的版本,代表已穩定的版本。
在 Maven settings.xml 添加帳號、密碼:
<servers>
  ...
  <server>
    <id>nexus-releases</id>
    <username>users</username>
    <password>P@ssw0rd</password>
  </server>
  <server>
    <id>nexus-snapshots</id>
    <username>users</username>
    <password>P@ssw0rd</password>
  </server>
  ...
</servers>
Note:
其中<id>標籤須對應 pom.xml 檔<repository>的<id>標籤。
Maven settings.xml 的設定範例如下:
<?xml version="1.0" encoding="UTF-8"?>
<settings xmlns="http://maven.apache.org/SETTINGS/1.2.0"
  xmlns:xsi="http://www.w3.org/2001/XMLSchema-instance"
  xsi:schemaLocation="http://maven.apache.org/SETTINGS/1.2.0 http://maven.apache.org/xsd/settings-1.2.0.xsd">
  <servers>
    <server>
      <id>nexus</id>
      <username>users</username>
      <password>P@ssw0rd</password>
    </server>
    <server>
      <id>nexus-releases</id>
      <username>users</username>
      <password>P@ssw0rd</password>
    </server>
    <server>
      <id>nexus-snapshots</id>
      <username>users</username>
      <password>P@ssw0rd</password>
    </server>
  </servers>

  <mirrors>
    <mirror>
      <id>nexus</id>
      <mirrorOf>*</mirrorOf>
      <name>Nexus</name>
      <url>http://localhost:8081/repository/maven-public/</url>
    </mirror>
  </mirrors>

  <profiles>
    <profile>
      <id>nexus</id>
      <repositories>
        <repository>
          <id>nexus</id>
          <name>Nexus</name>
          <url>http://localhost:8081/repository/maven-public/</url>
          <releases>
            <enabled>true</enabled>
          </releases>
          <snapshots>
            <enabled>true</enabled>
            <updatePolicy>always</updatePolicy>
          </snapshots>
        </repository>
      </repositories>
      <pluginRepositories>
        <pluginRepository>
          <id>nexus</id>
          <name>Nexus</name>
          <url>http://localhost:8081/repository/maven-public/</url>
          <releases>
            <enabled>true</enabled>
          </releases>
          <snapshots>
            <enabled>true</enabled>
            <updatePolicy>always</updatePolicy>
          </snapshots>
        </pluginRepository>
      </pluginRepositories>
    </profile>
  </profiles>

  <activeProfiles>
    <activeProfile>nexus</activeProfile>
  </activeProfiles>
</settings>
接著執行 Maven 打包,打包後會自動上傳至 Nexus Repository,Maven 指令如下:
mvn clean deploy
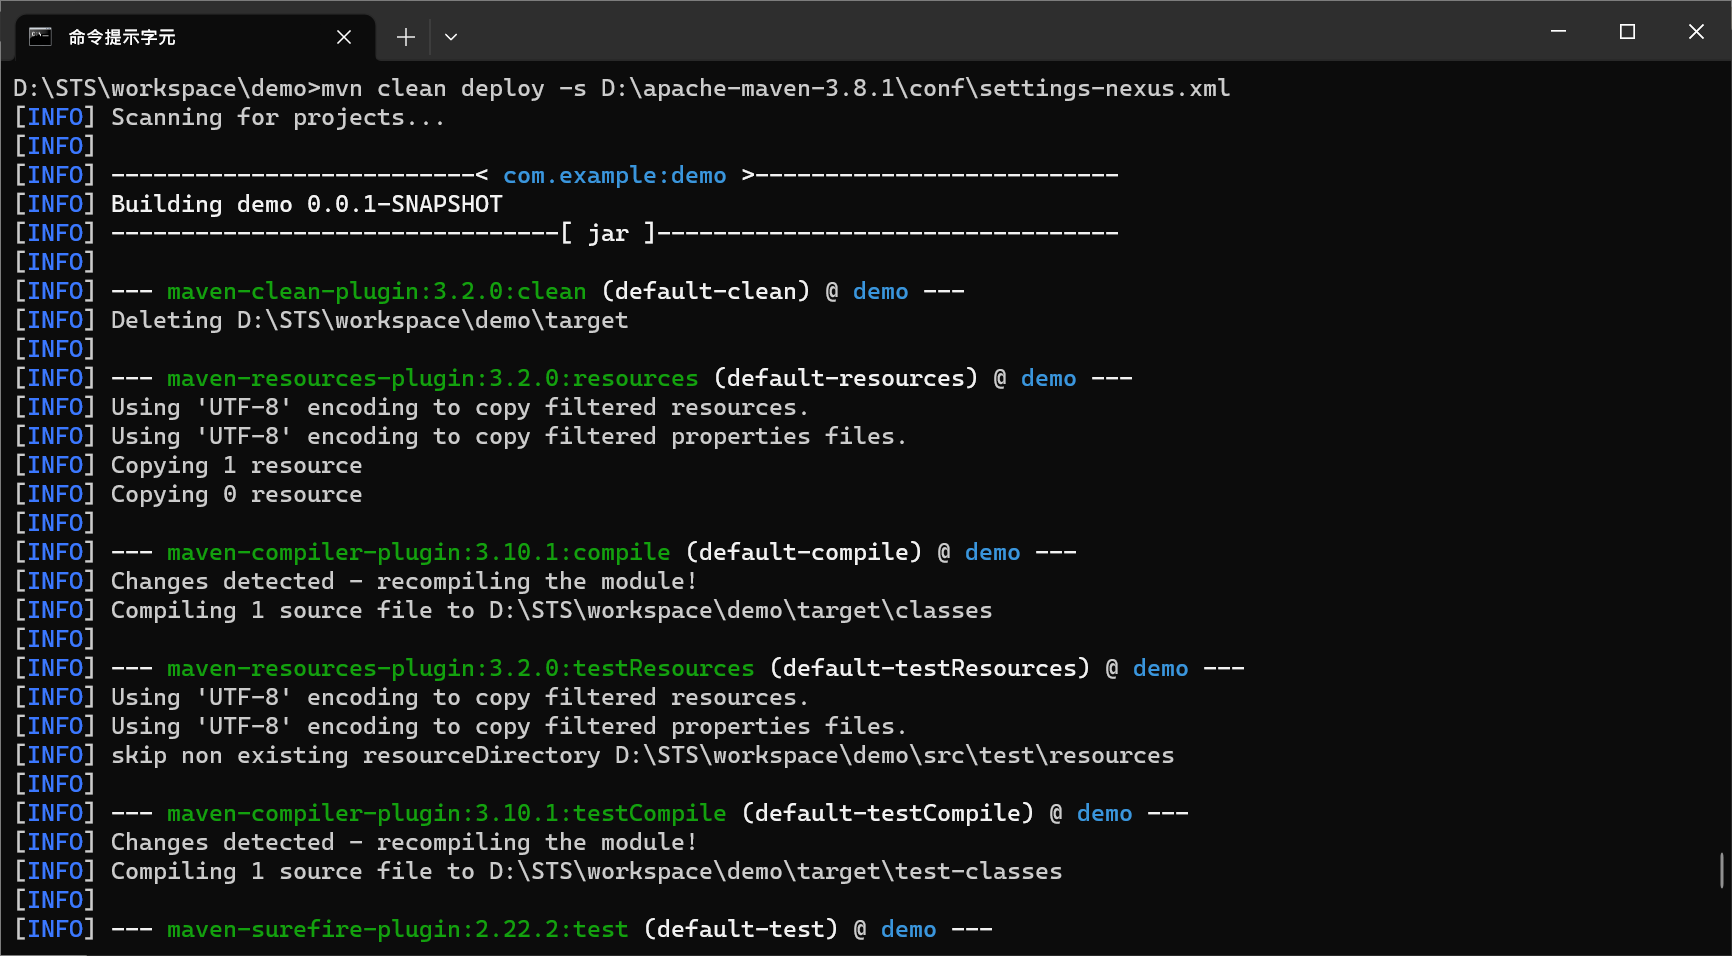
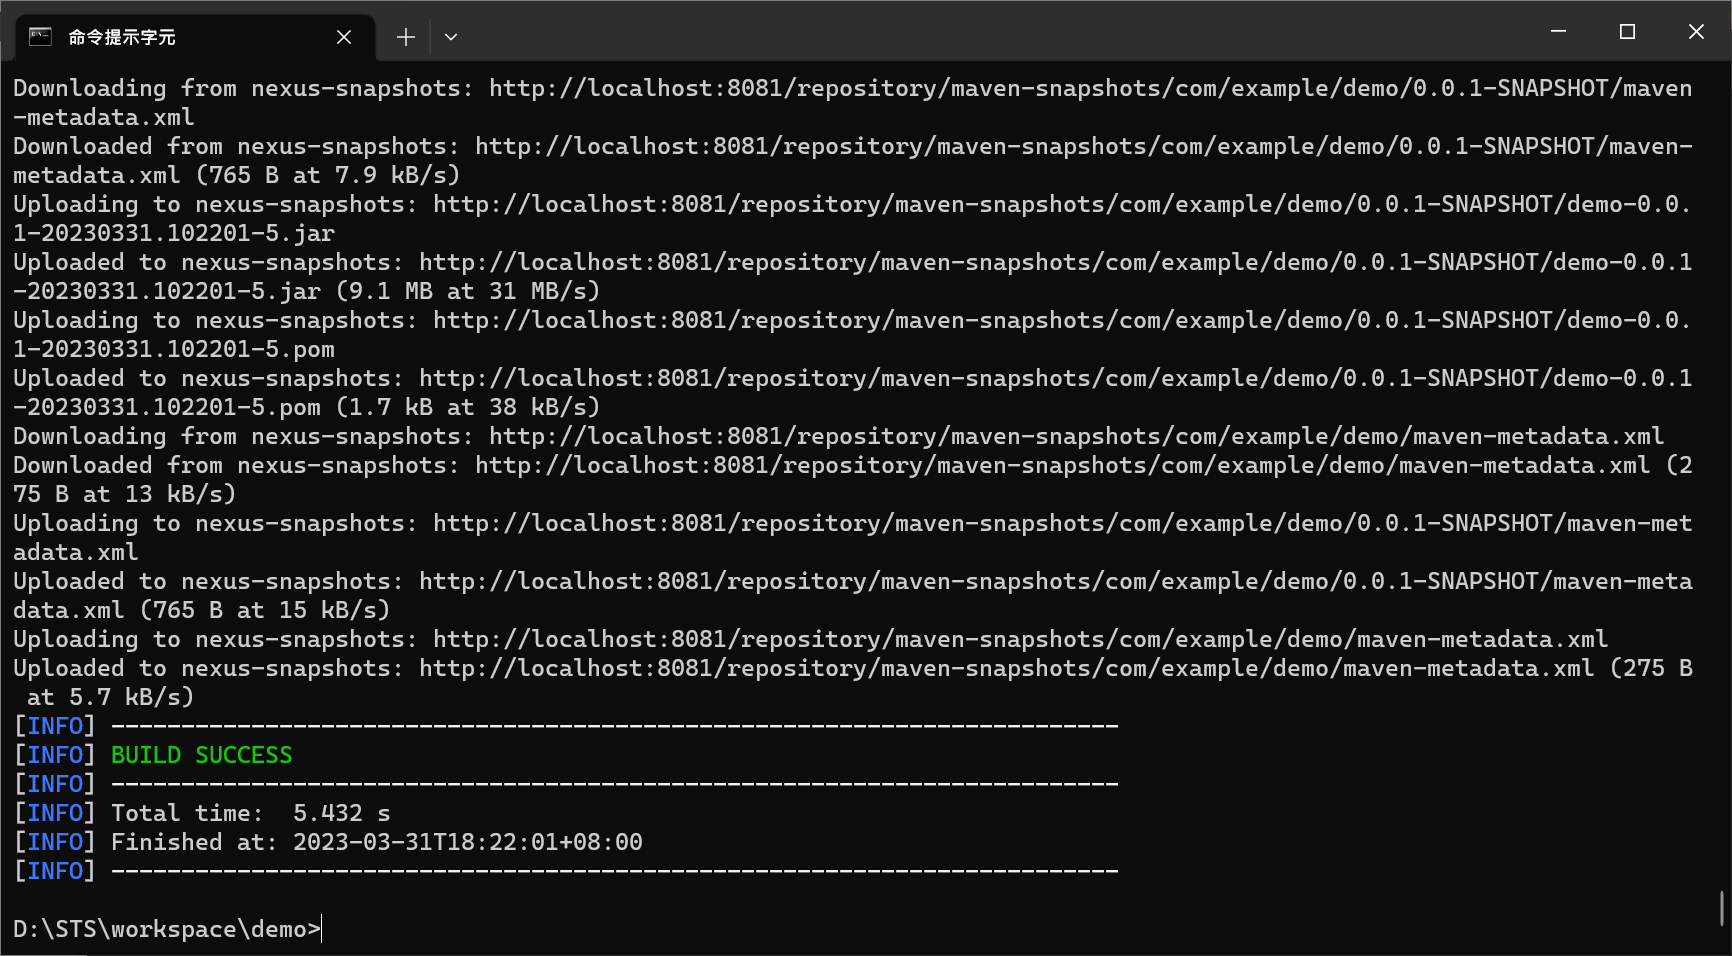
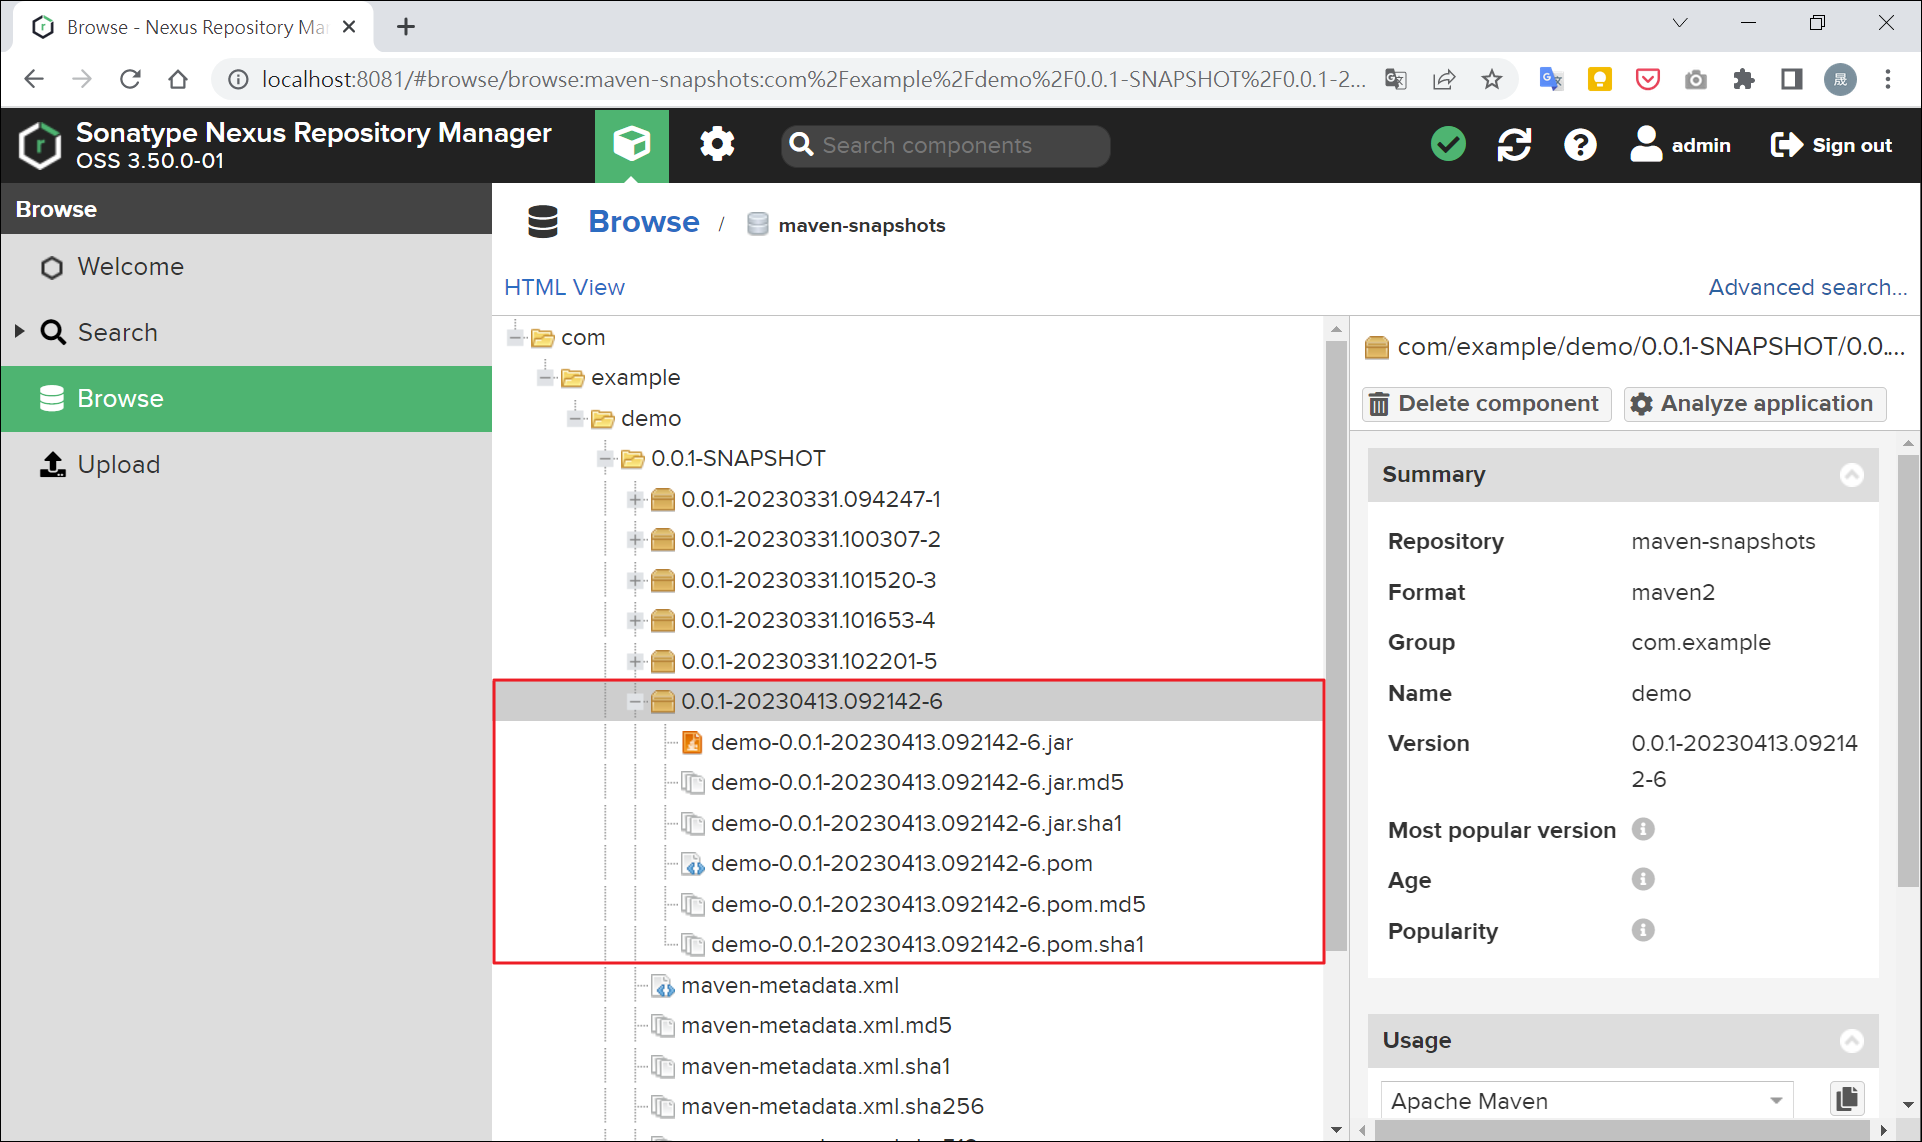
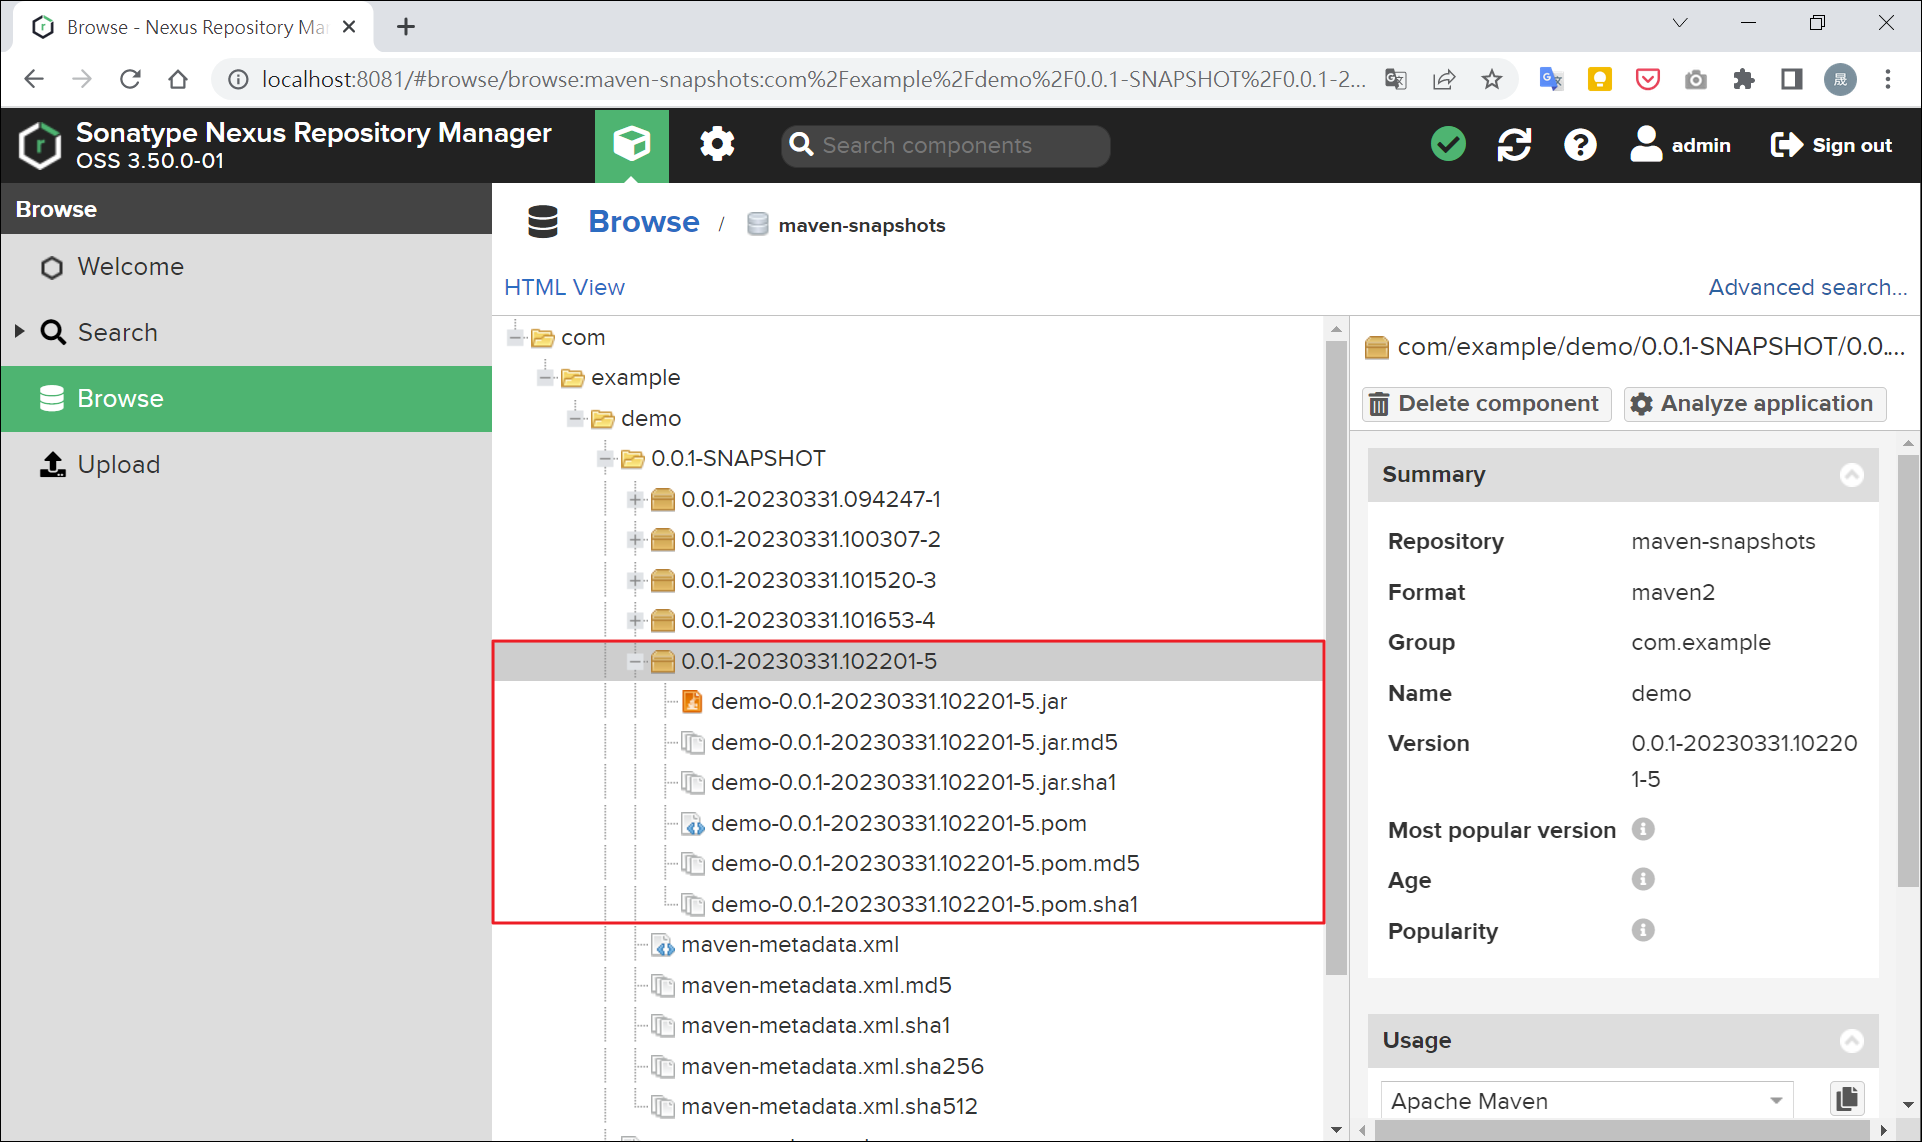
檢視 Nexus Repository,確實已上傳自行開發的 jar 檔。
情境二:已打包為 jar 檔的套件
利用 deploy:deploy-file 指令將 jar 檔的 Maven 座標上傳至 Nexus Repository。原理類似 install:install-file 指令安裝 jar 檔到 Maven Local Repository,可參考這篇。
指令如下:
mvn deploy:deploy-file
  -DgroupId=<group-id>
  -DartifactId=<artifact-id>
  -Dversion=<version>
  -Dpackaging=<type-of-packaging>
  -DgeneratePom=<generic-pom>
  -Dfile=<path-to-file>
  -DrepositoryId=<id-to-map-on-server-section-of-settings.xml>
  -Durl=<url-of-the-repository-to-deploy>
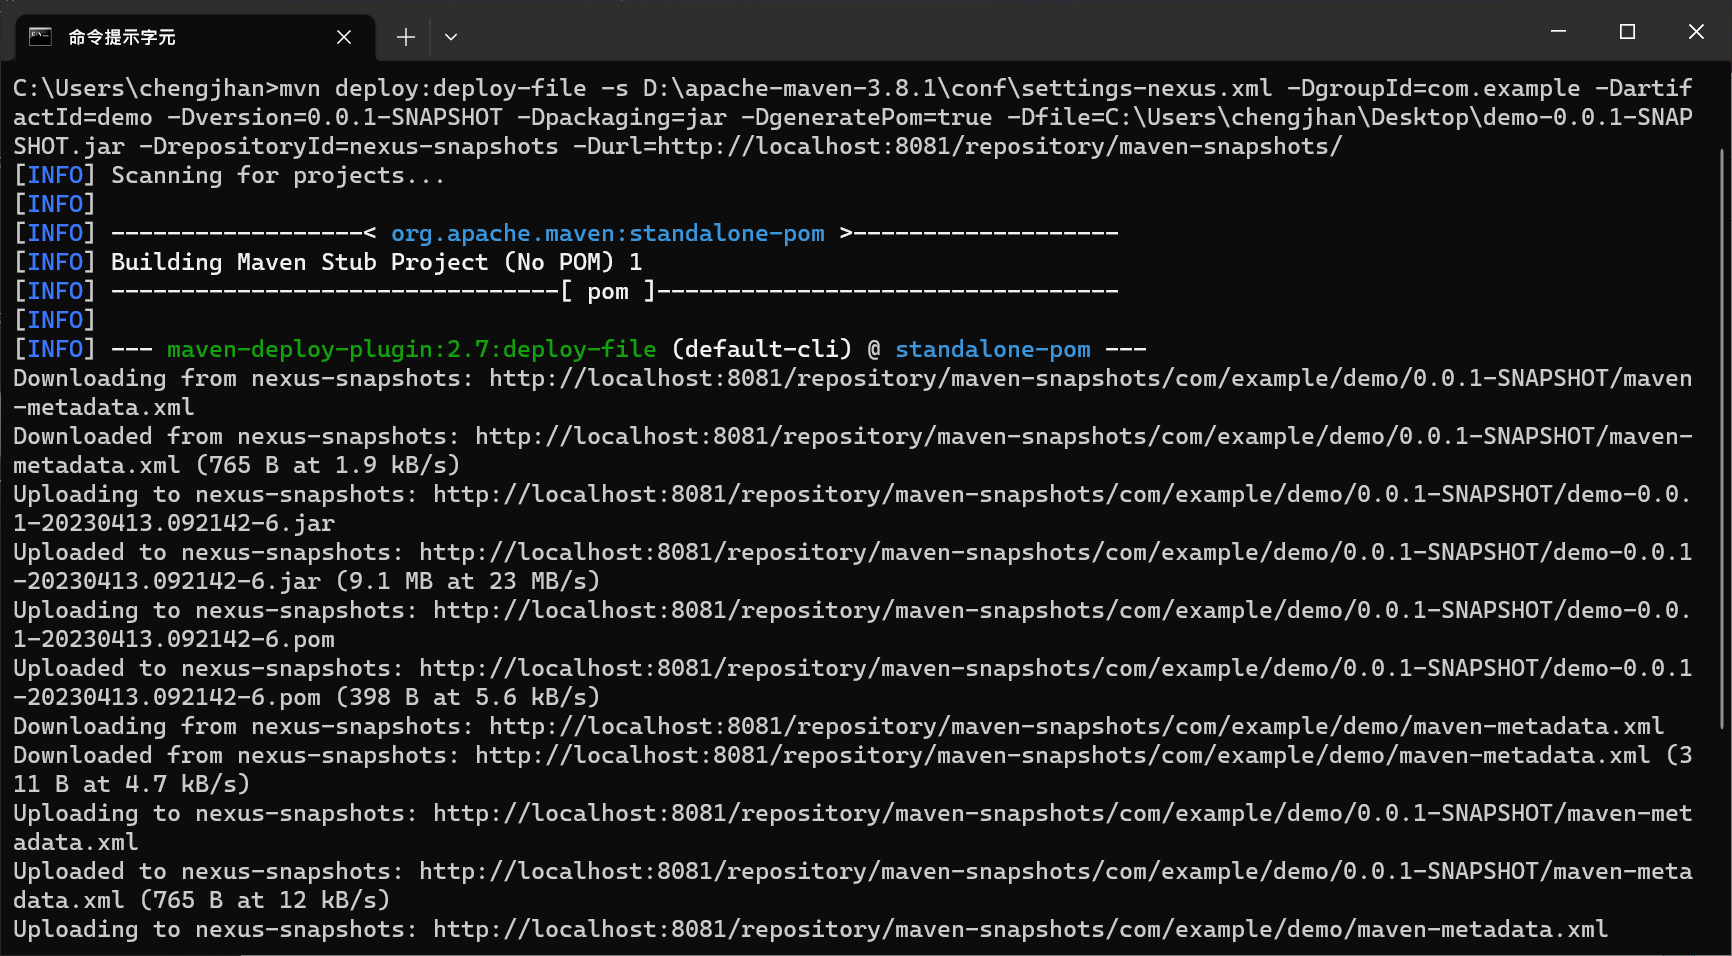
以 demo-0.0.1-SNAPSHOT.jar 為例:
mvn deploy:deploy-file
  -s D:\apache-maven-3.8.1\conf\settings-nexus.xml
  -DgroupId=com.example
  -DartifactId=demo
  -Dversion=0.0.1-SNAPSHOT
  -Dpackaging=jar
  -DgeneratePom=true
  -Dfile=C:\Users\chengjhan\Desktop\demo-0.0.1-SNAPSHOT.jar
  -DrepositoryId=nexus-snapshots
  -Durl=http://localhost:8081/repository/maven-snapshots/
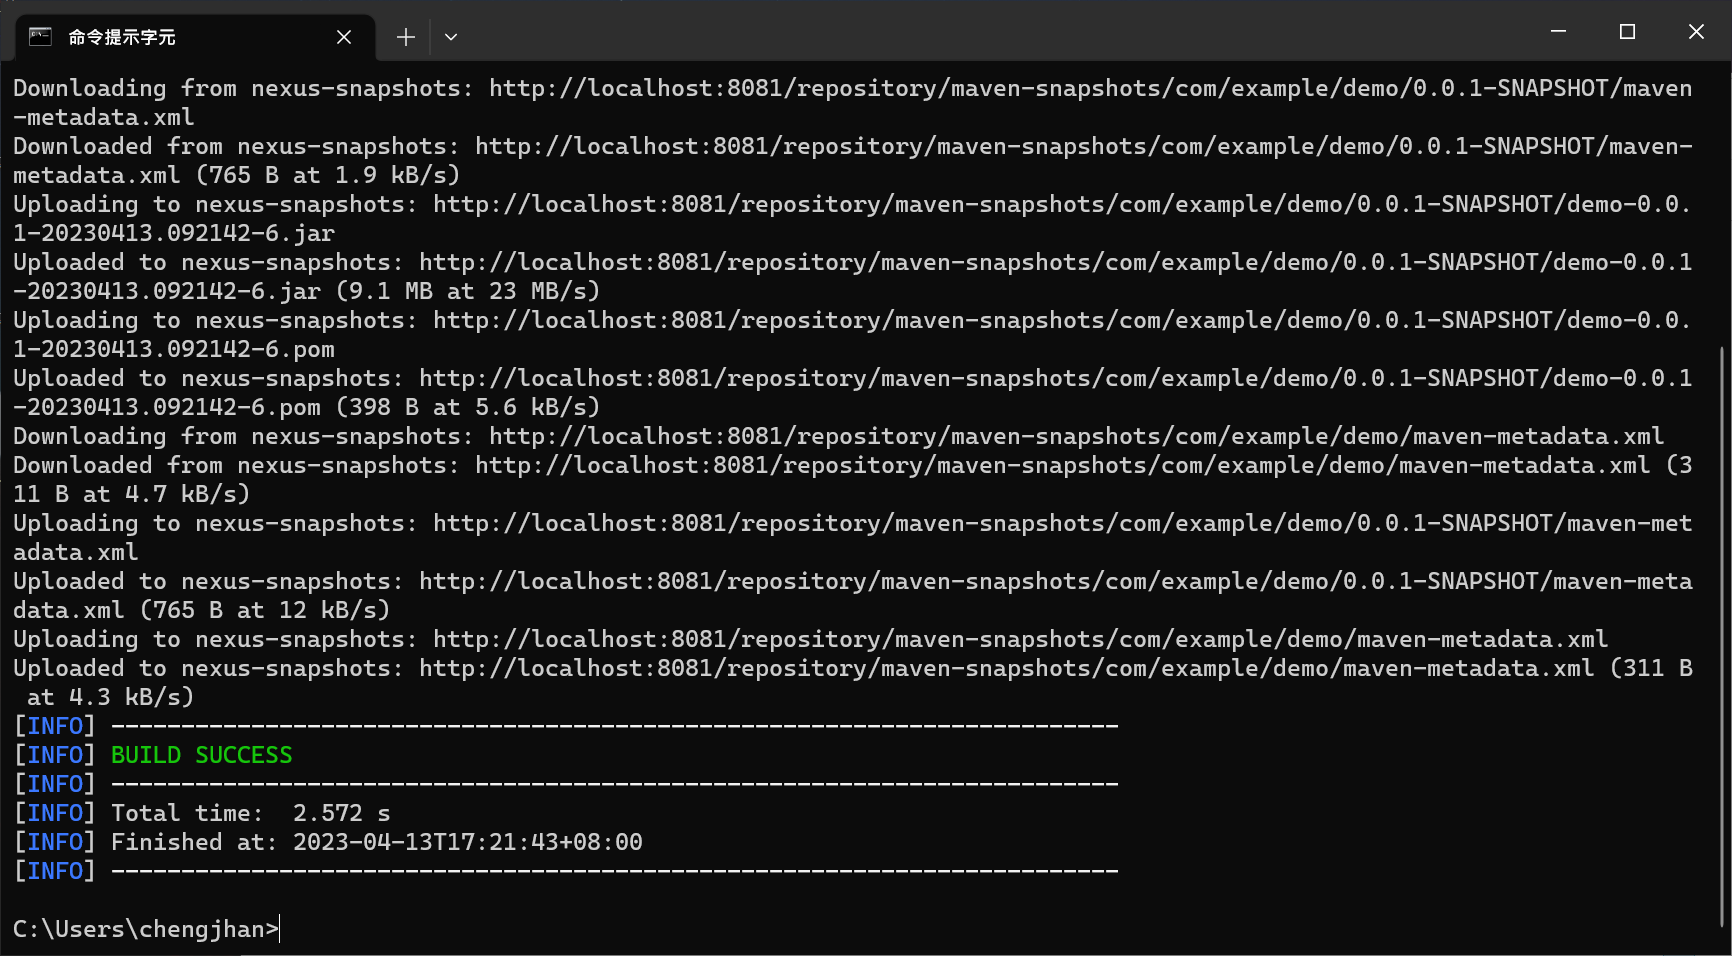
檢視 Nexus Repository,確實已上傳 jar 檔。