公司可能因為防火牆政策擋住了 Maven Central Repository,導致開發者下載不到所需要的套件,或公司有自行開發內部的套件供團隊使用。因此可以藉由架設一個公司內部使用的 Maven Central Repository 幫助下載外部的套件外,也可以自行上傳公司內部開發的套件供團隊使用。而本篇會利用 Nexus Repository 作為公司內部的 Maven Central Repository,在 Windows 的環境下從如何架設 Nexus Repository,到如何設定環境連線到自行架設的 Nexus Repository。
安裝 Nexus Repository
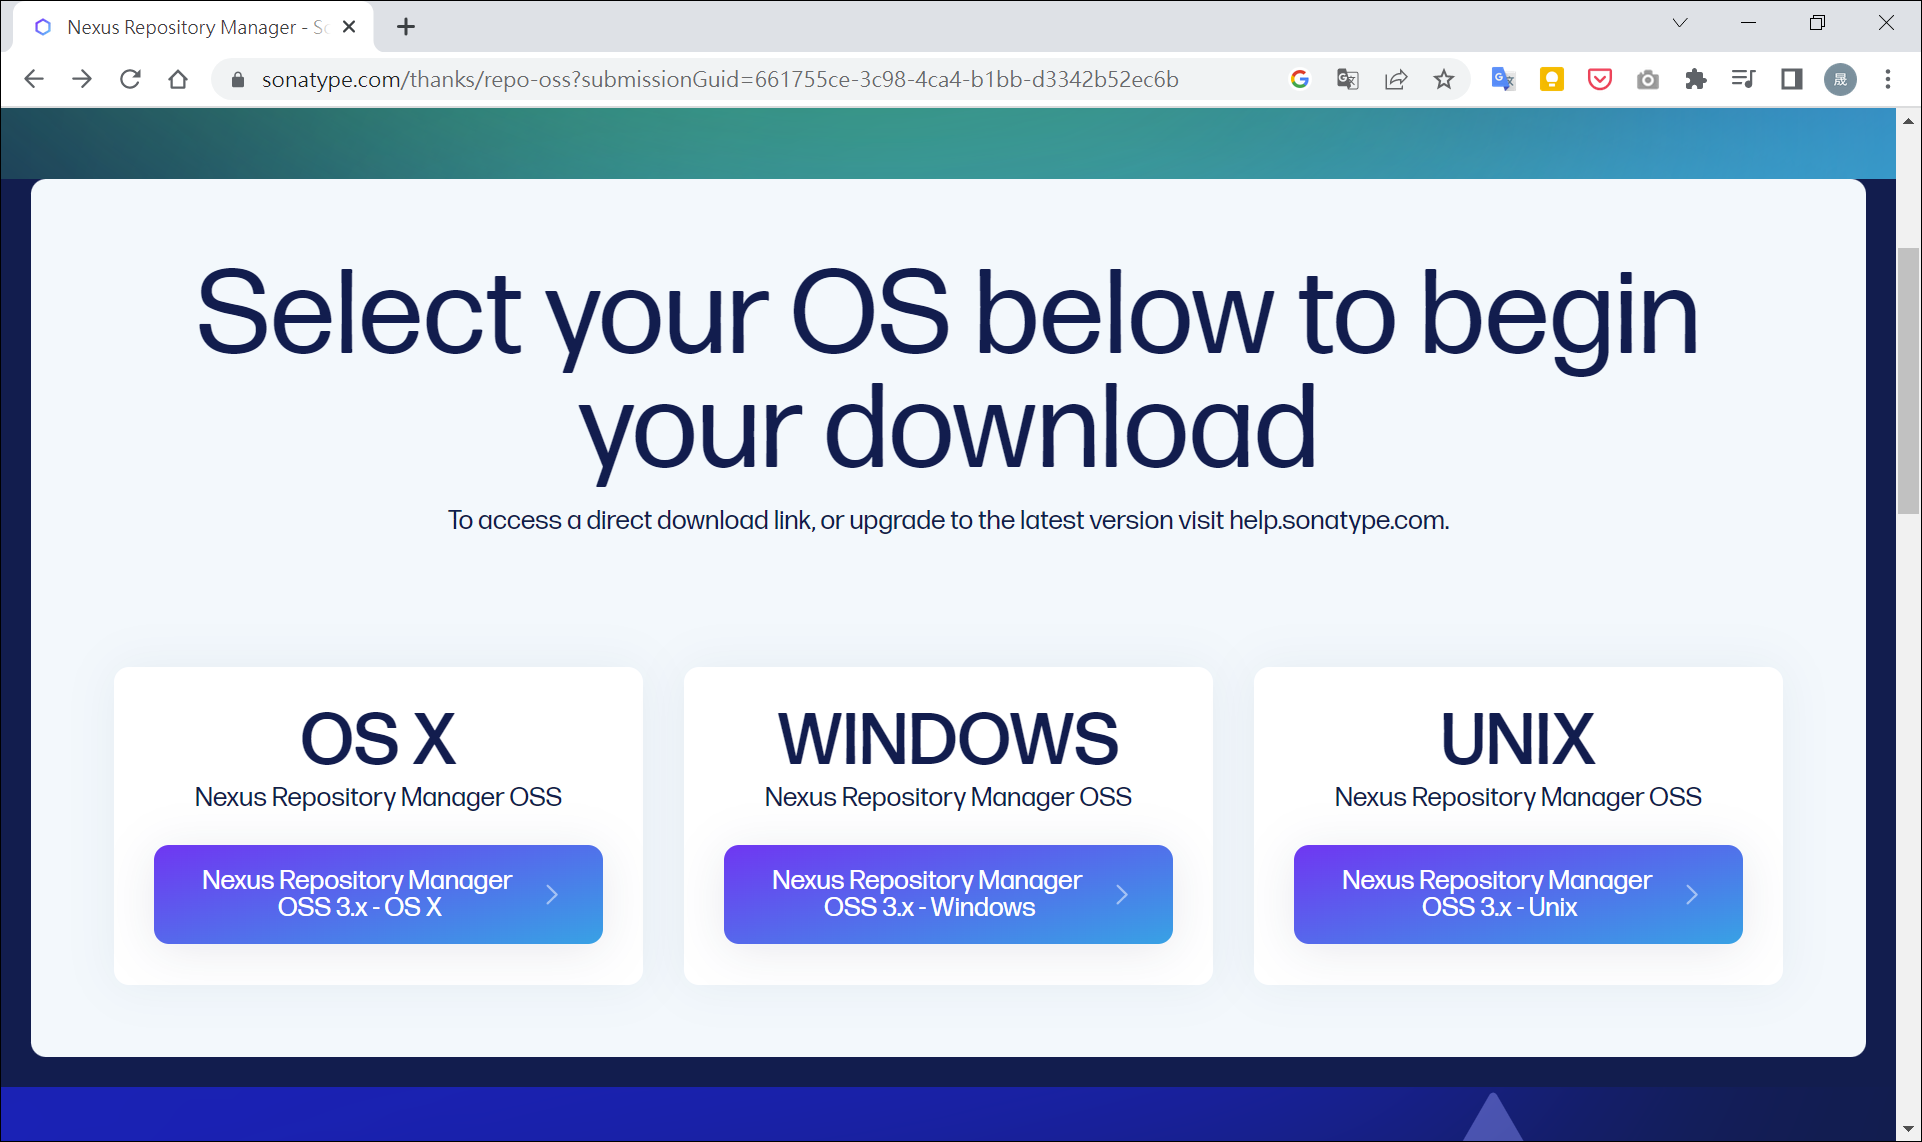
至 Sonatype 官方網站下載 Nexus Repository,下載後會是一個 zip 壓縮檔,本篇解壓縮至 D:\ 下。

以系統管理員開啟 cmd,利用指令安裝。會自動註冊一個 Nexus Repository,預設會建立名為 nexus 的服務,指令如下:
cd /d D:\nexus-3.50.0-01-win64\nexus-3.50.0-01\bin
nexus /install

接著啟動 Nexus Repository,指令如下:
nexus /start

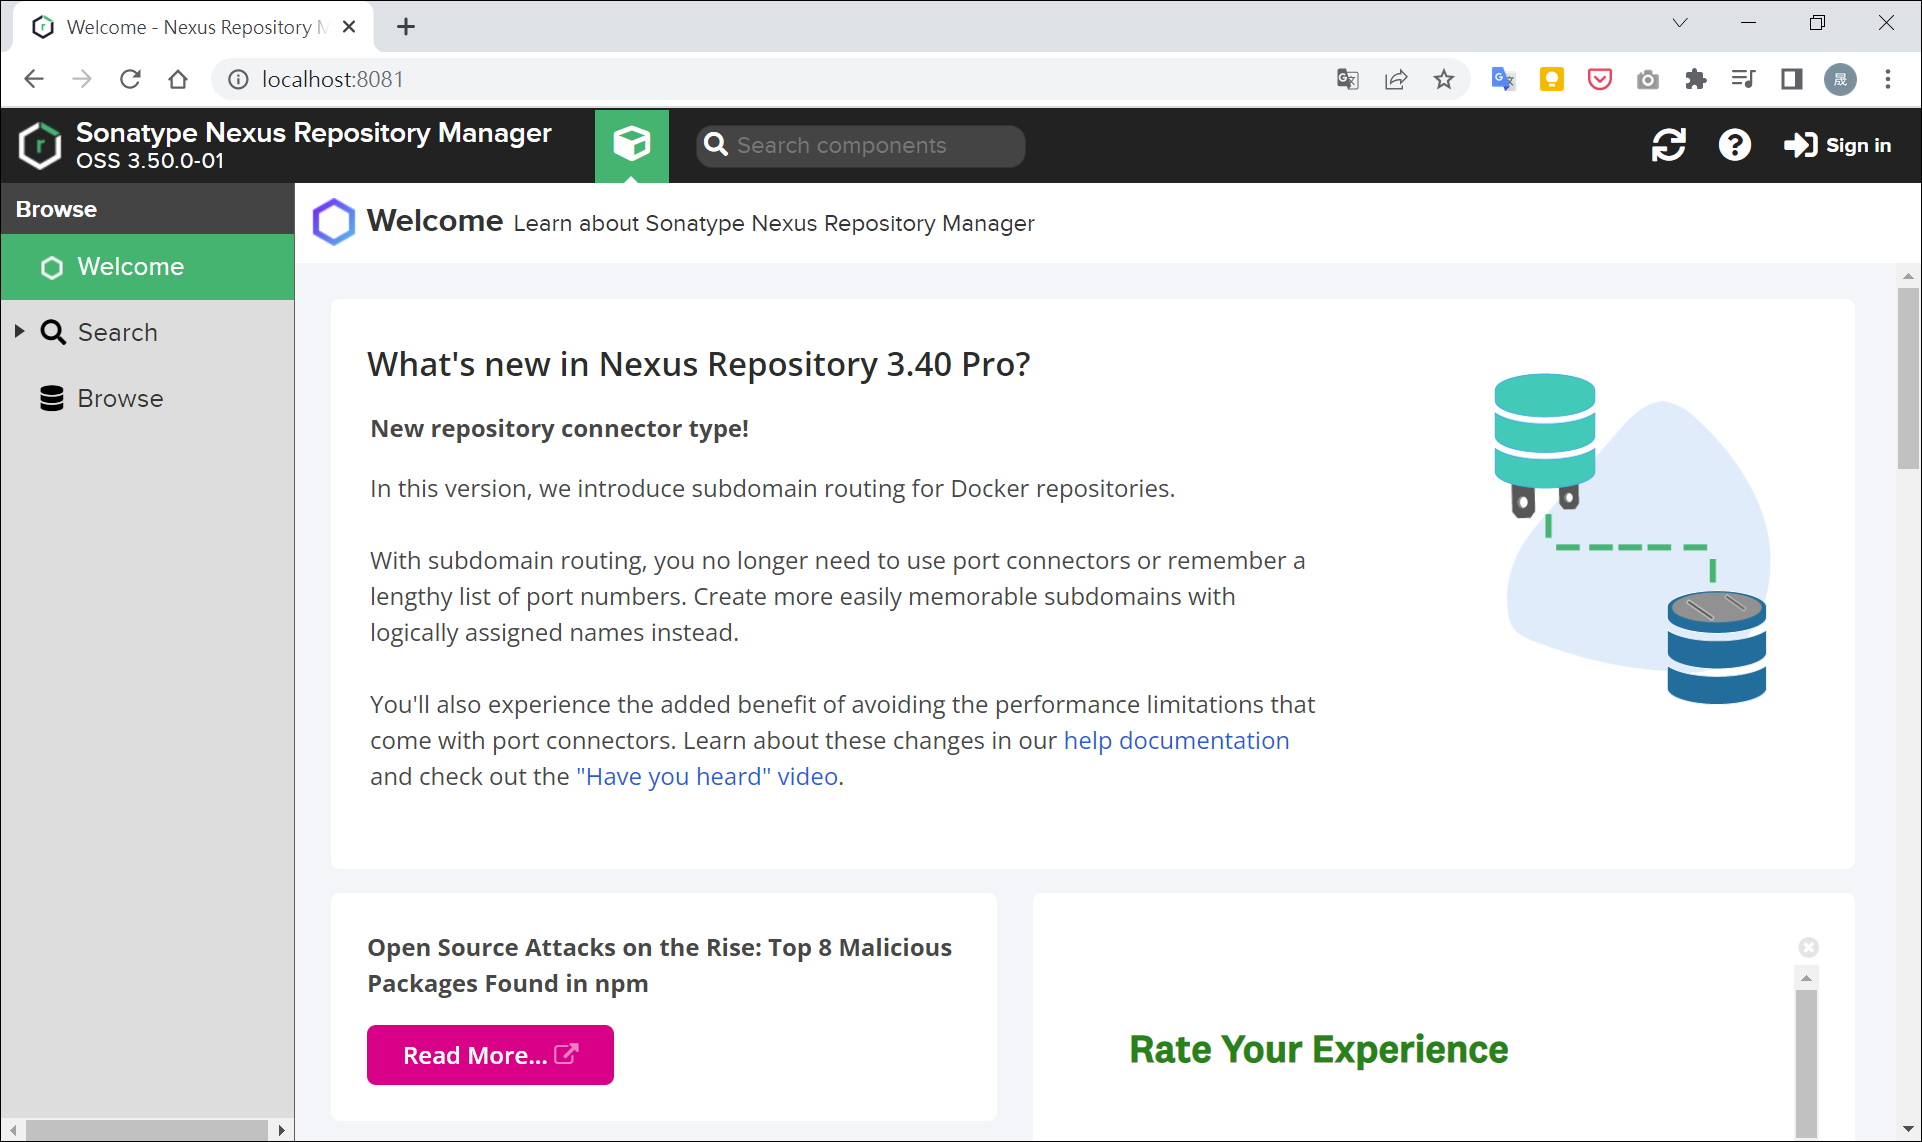
啟動後以瀏覽器連線至 http://localhost:8081/ 即可進入 Web Console。
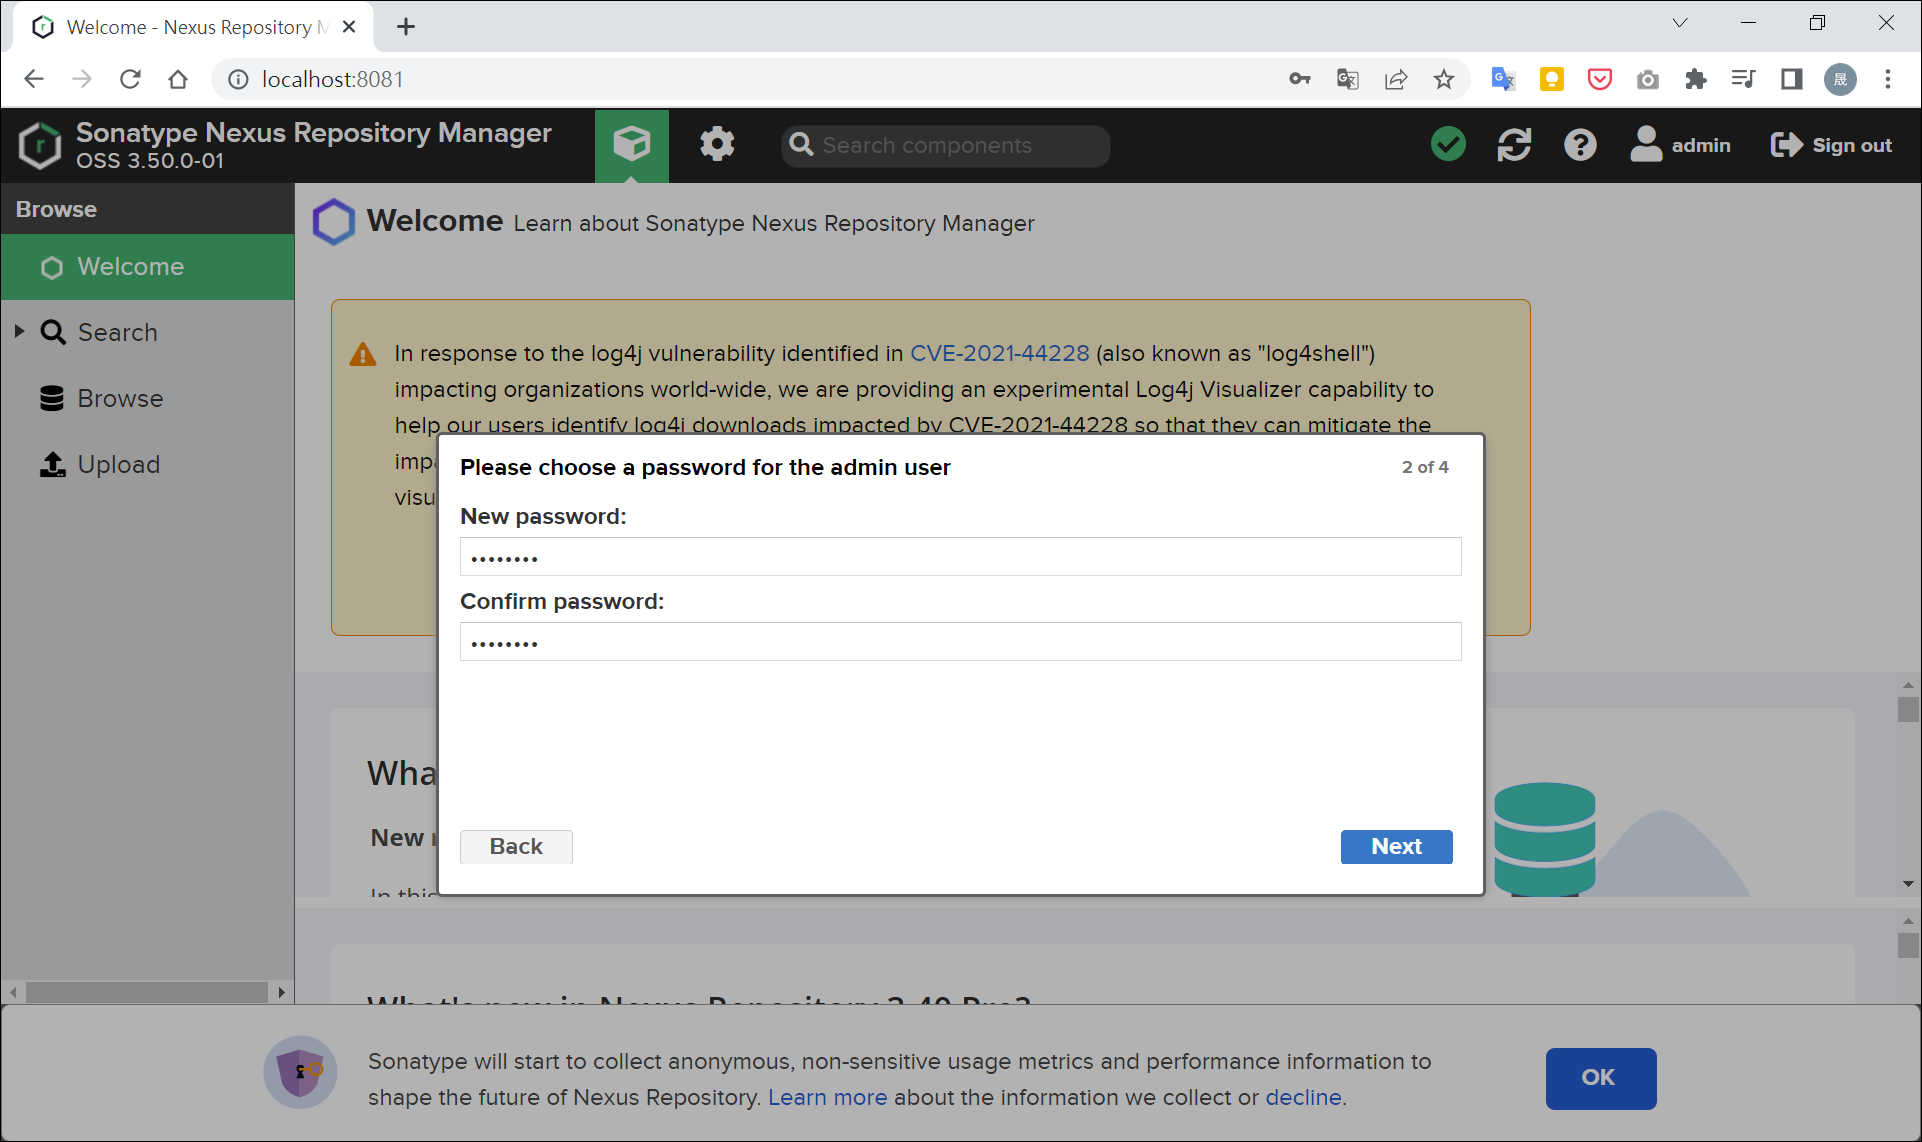
點擊右上角 Sign in 開啟登入對話框,設定密碼並登入。

帳號為 admin,初始密碼位於 D:\nexus-3.50.0-01-win64\sonatype-work\nexus3\admin.password。
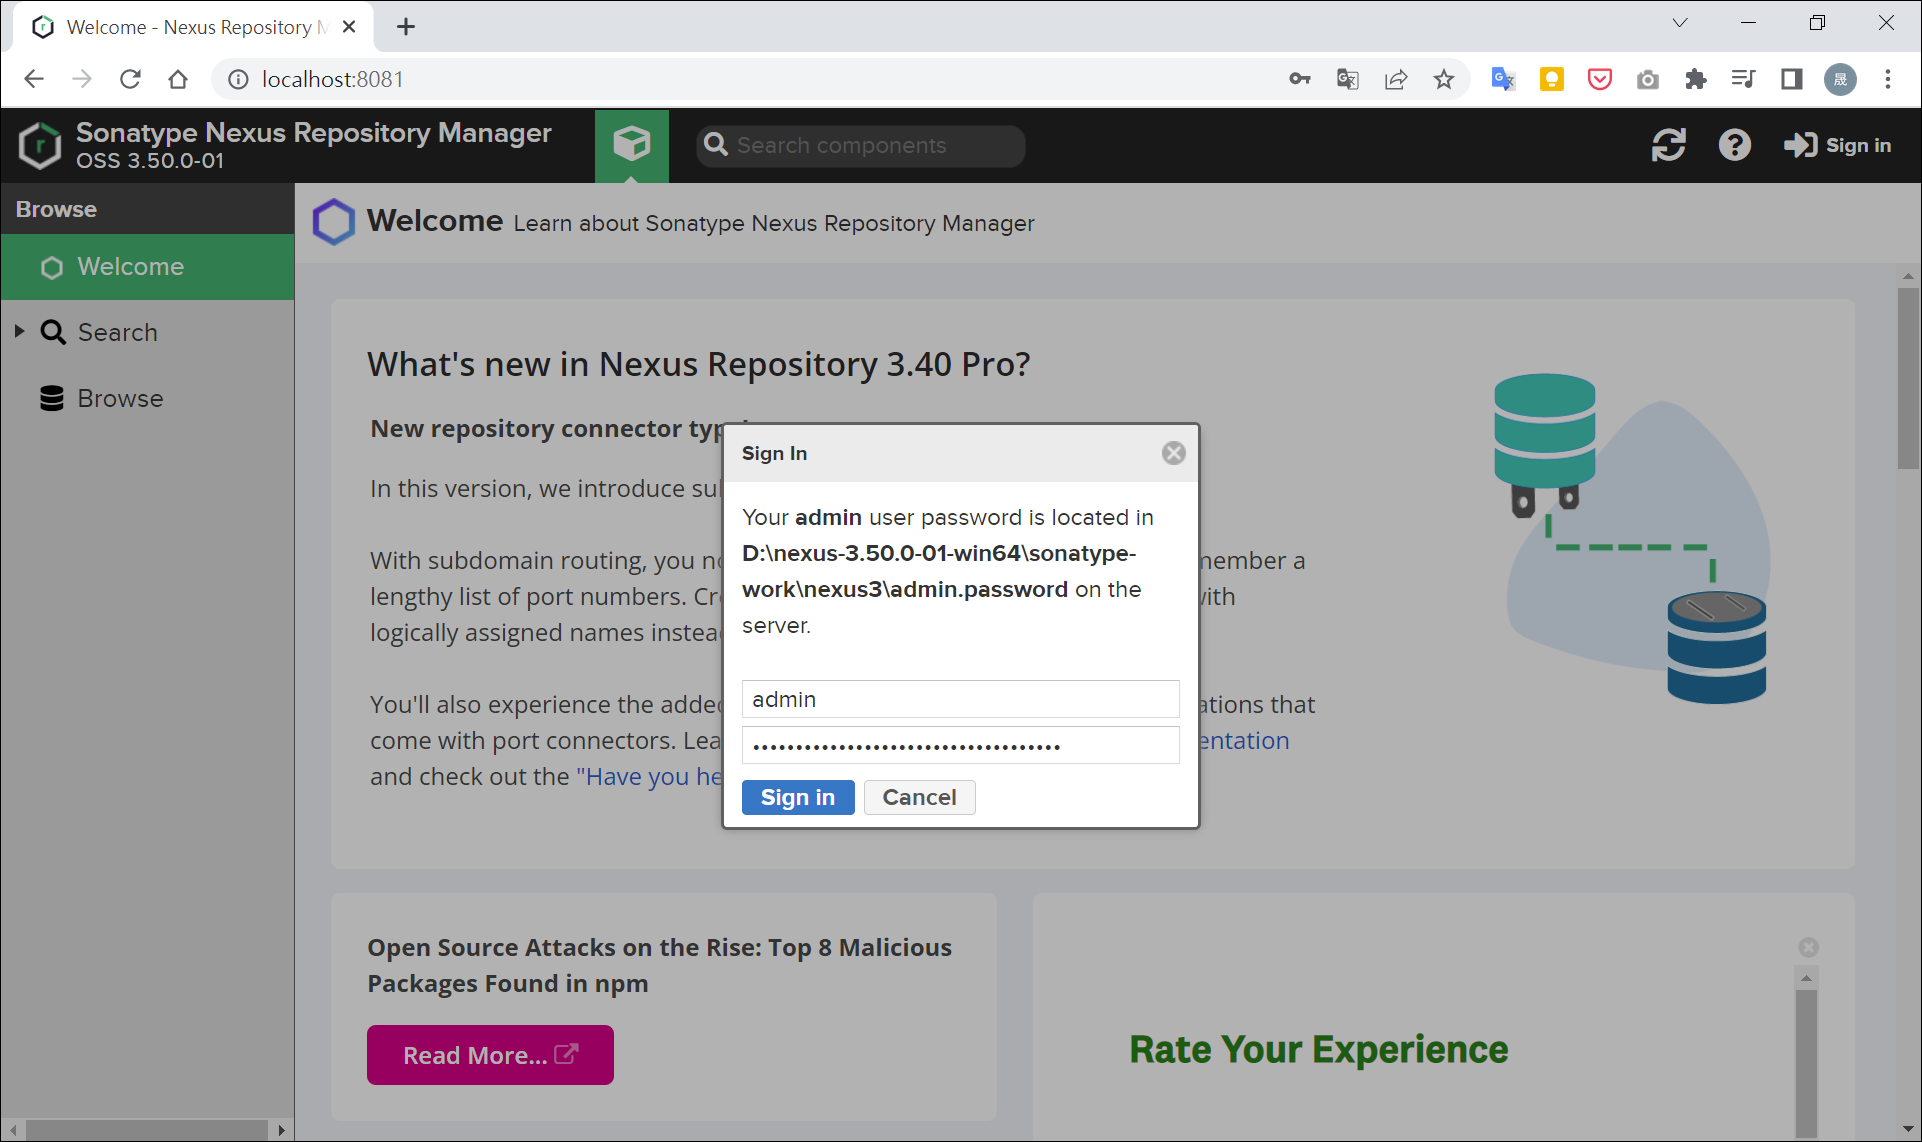
依照提示重新設定密碼即可。
建立使用者帳號
上一章節的 admin 帳號通常是管理者管理 Nexus Repository 使用,這邊建議建立一個使用者帳號給專案團隊使用。
首先先建立一個使用者群組:
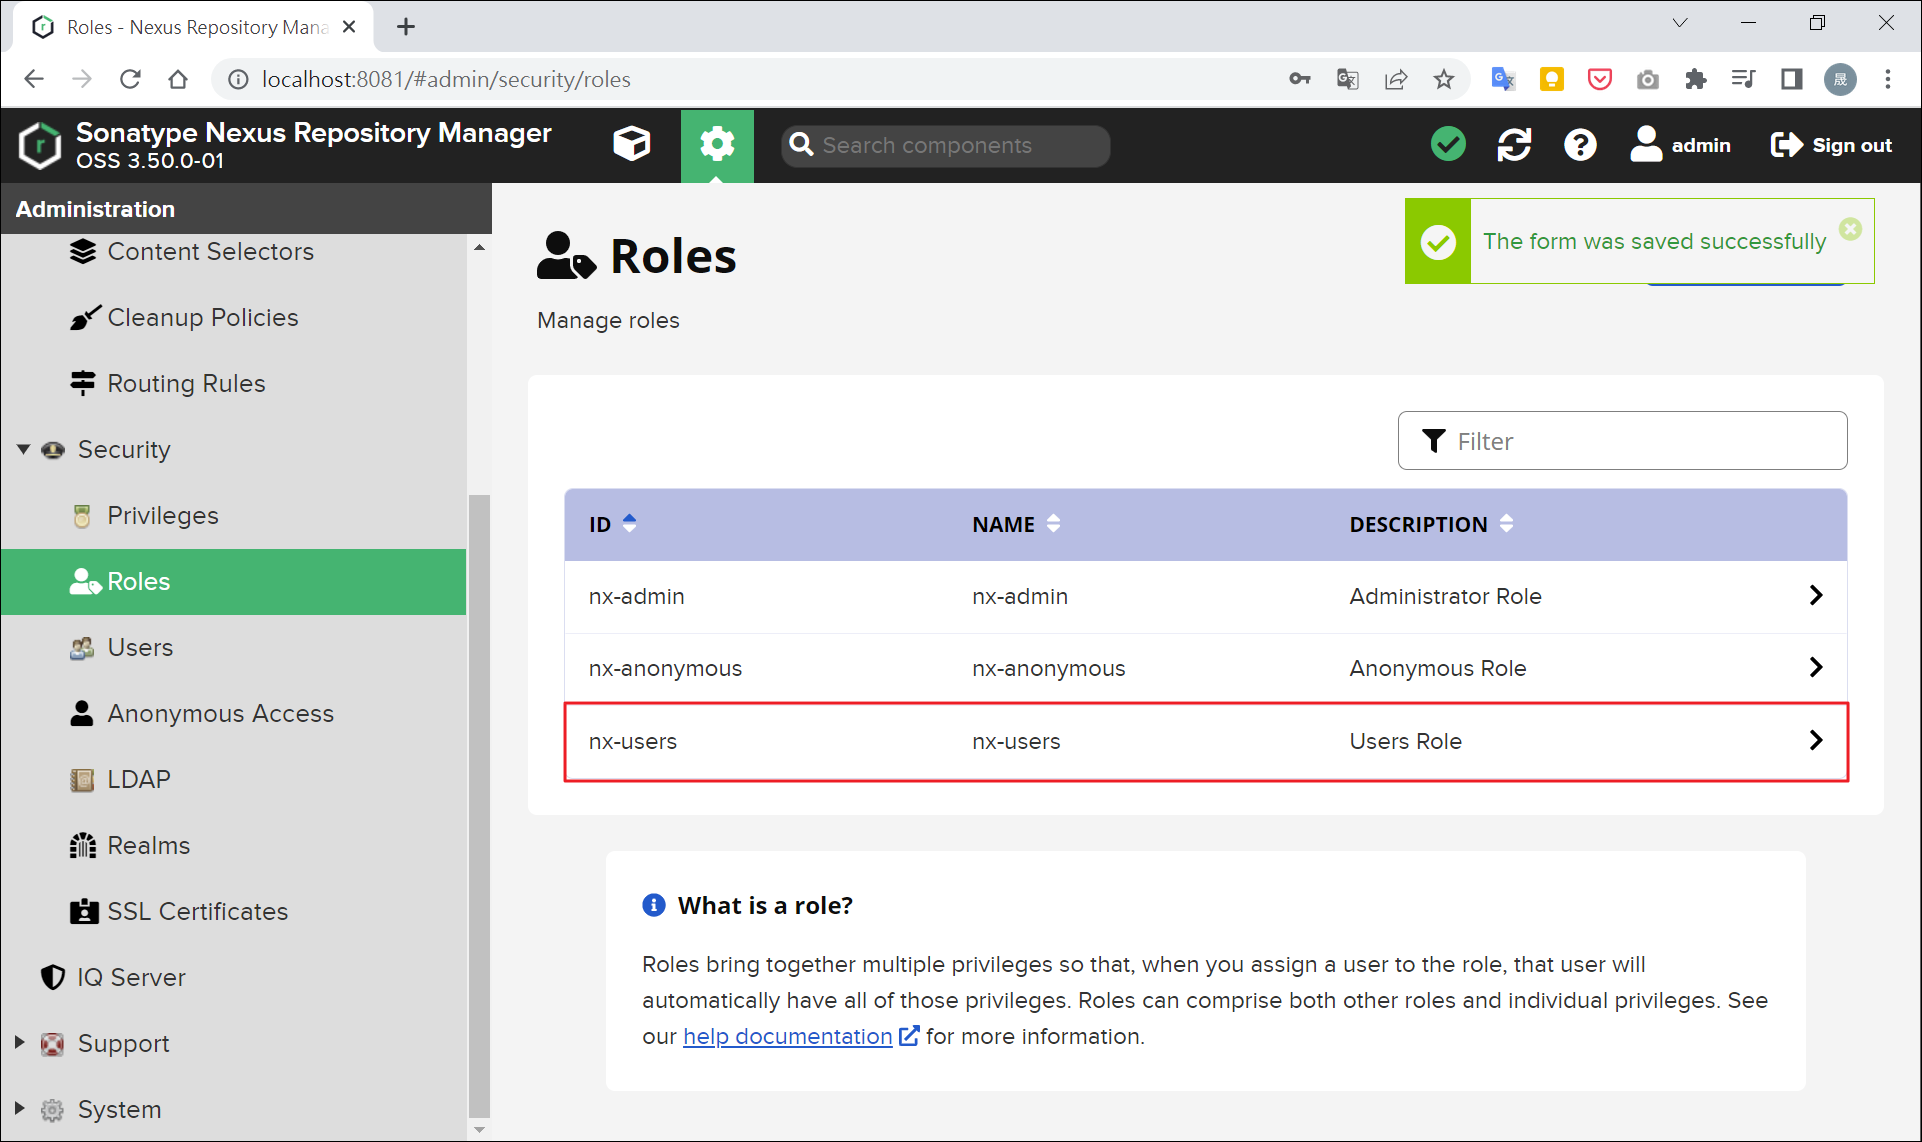
至「Roles」>「Create Role」建立使用者群組。
Type 選擇「Nexus role」,並自行命名一個 Role ID 及 Role Name。
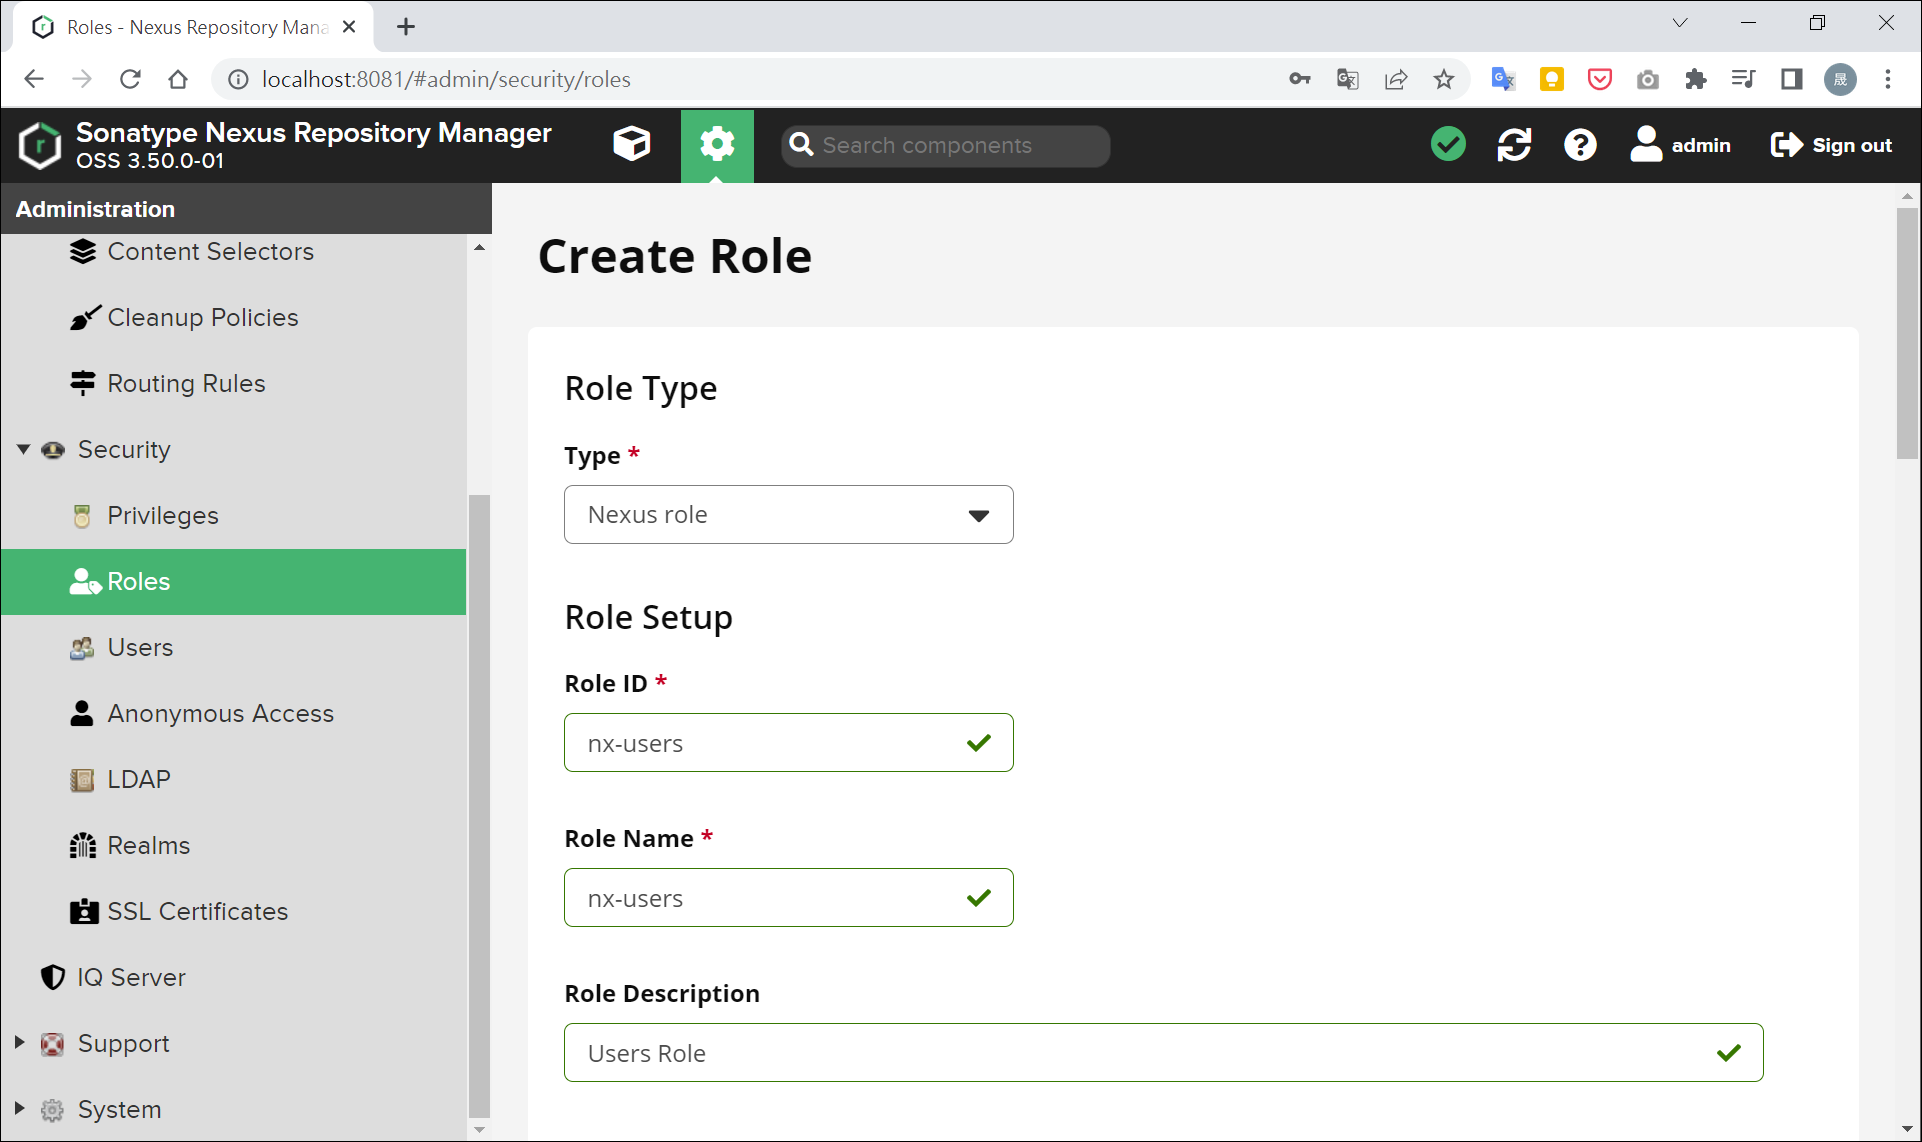
加入角色權限:
因本篇要使用 Maven,所以加入 nx-repository-view-maven2-*-* 的權限。
完成。
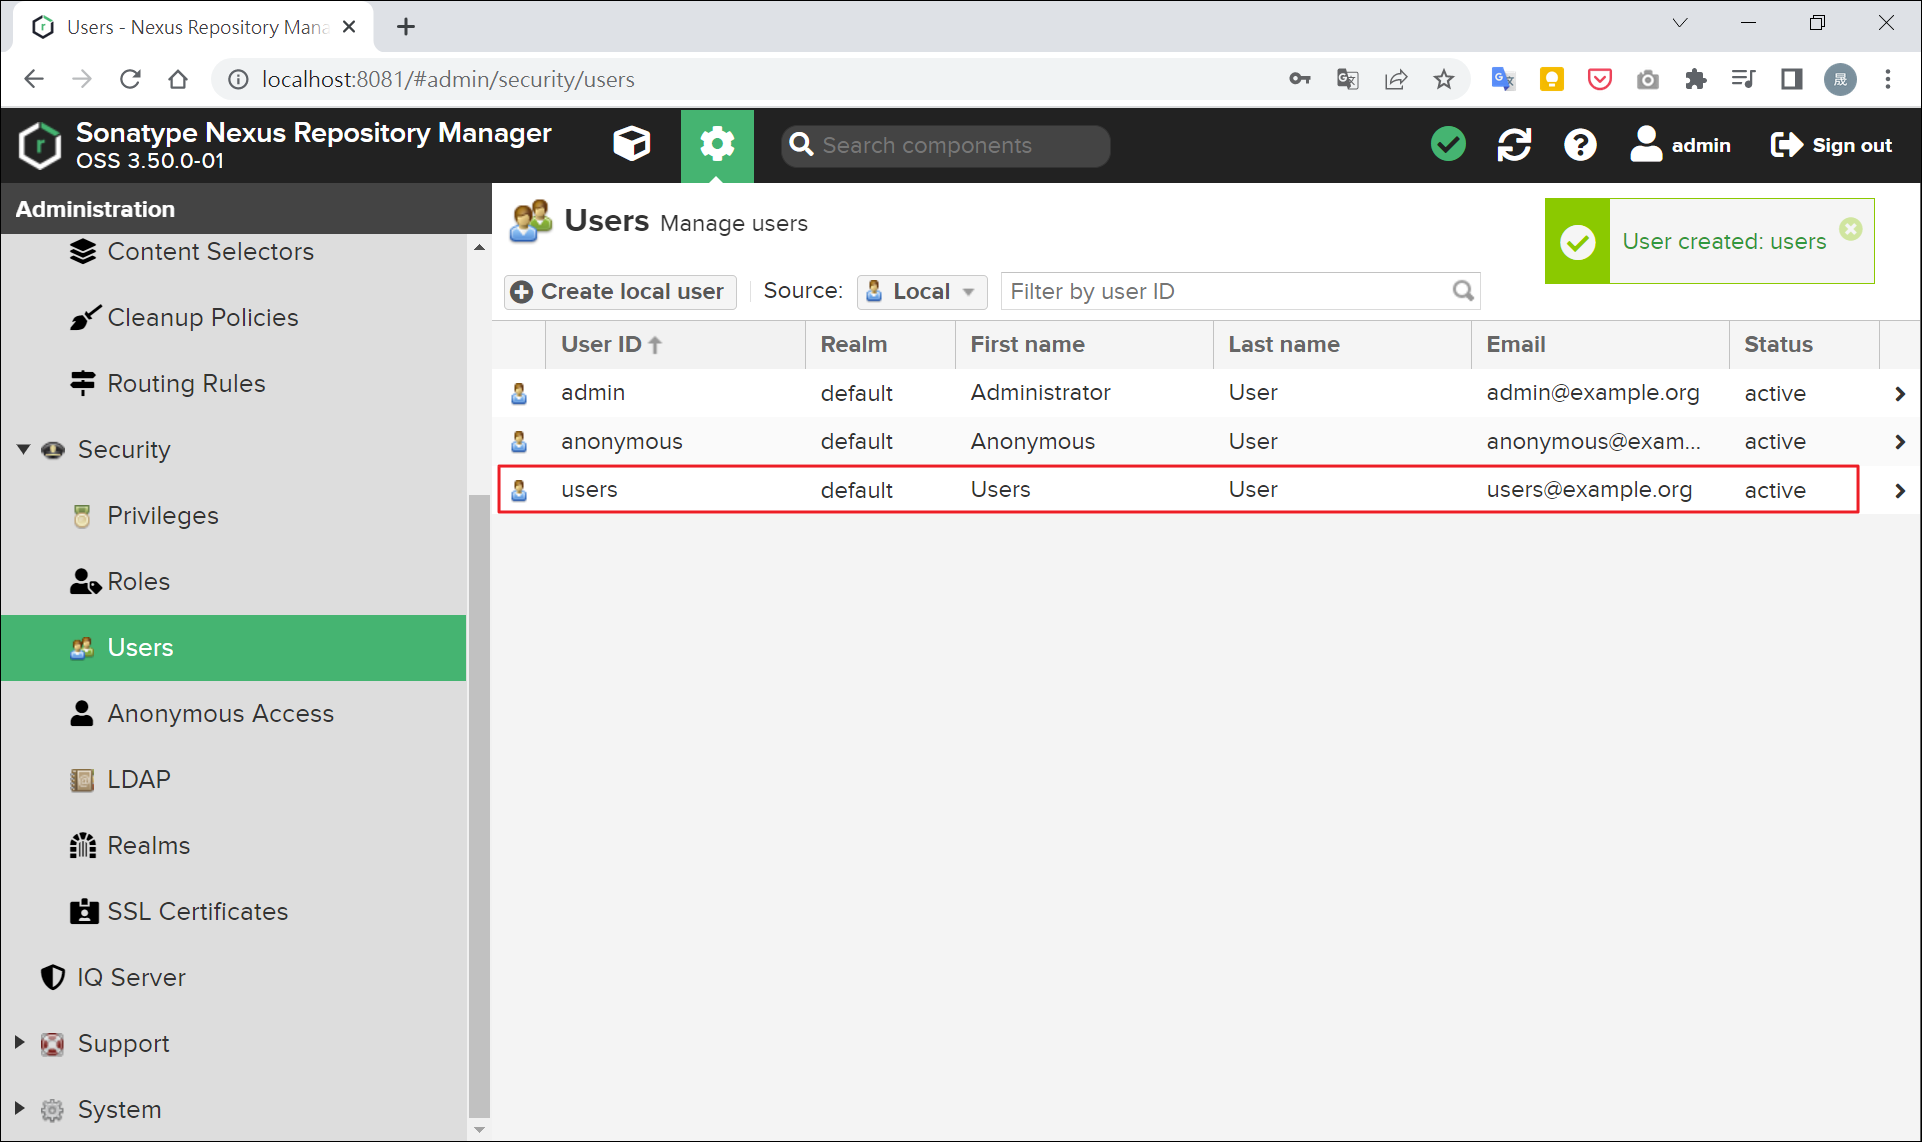
接著建立一個使用者帳號:
至「Users」>「Create local user」建立使用者帳號。
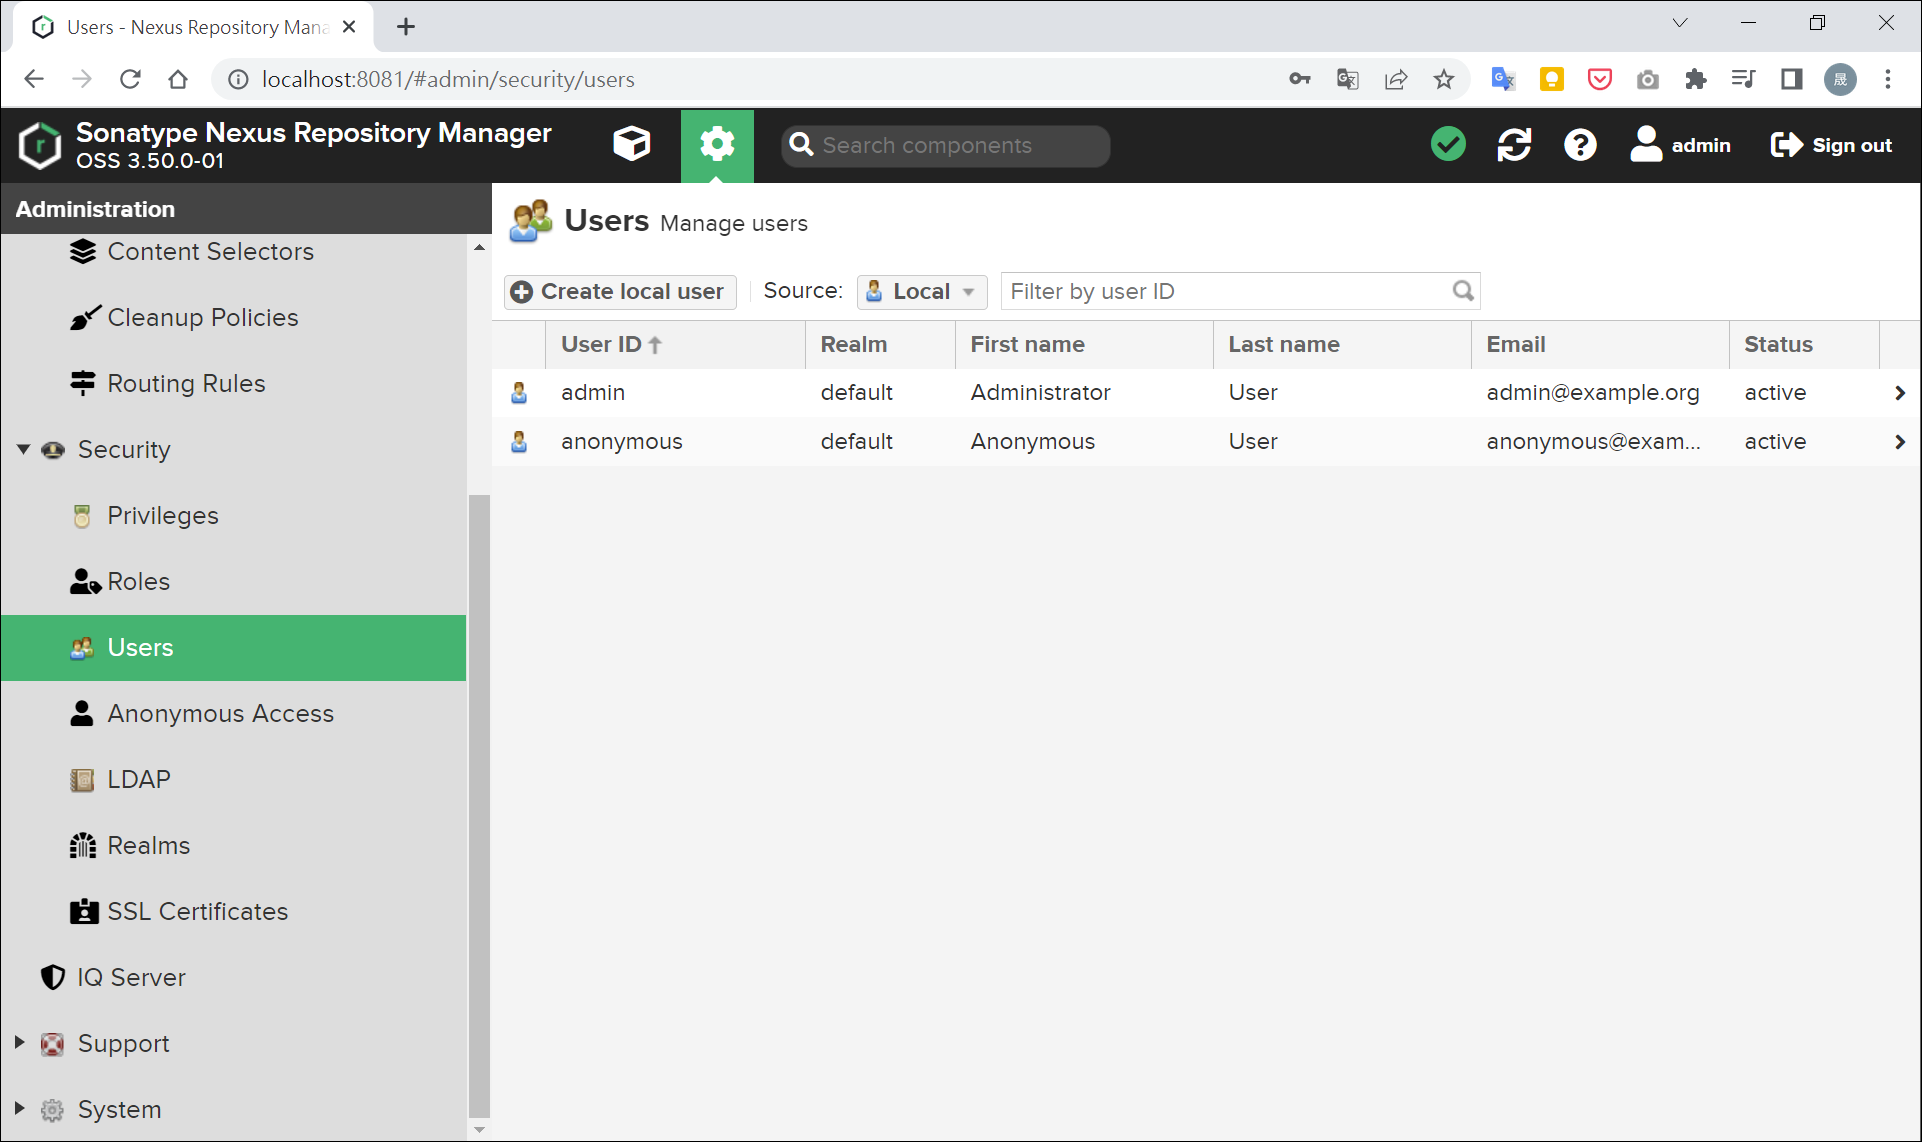
自訂帳號名稱及密碼。
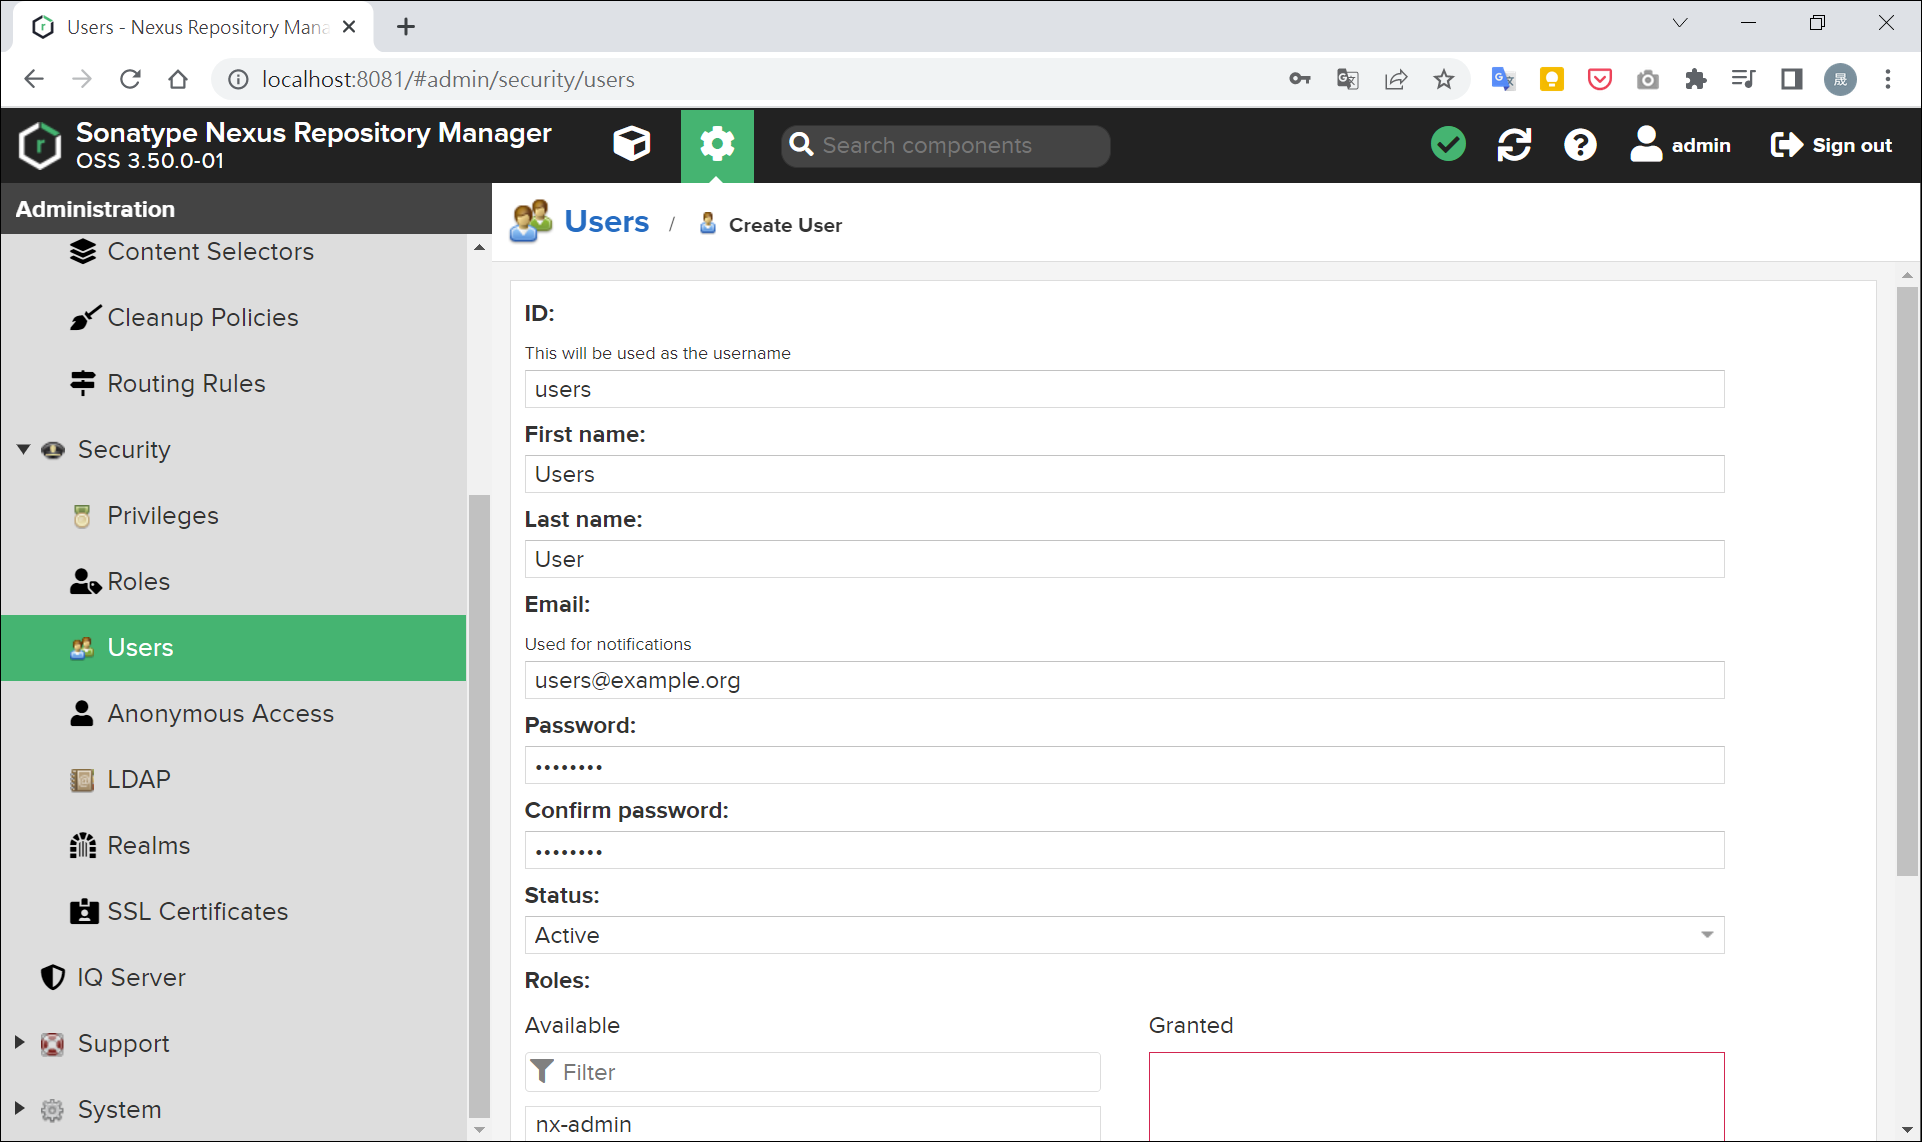
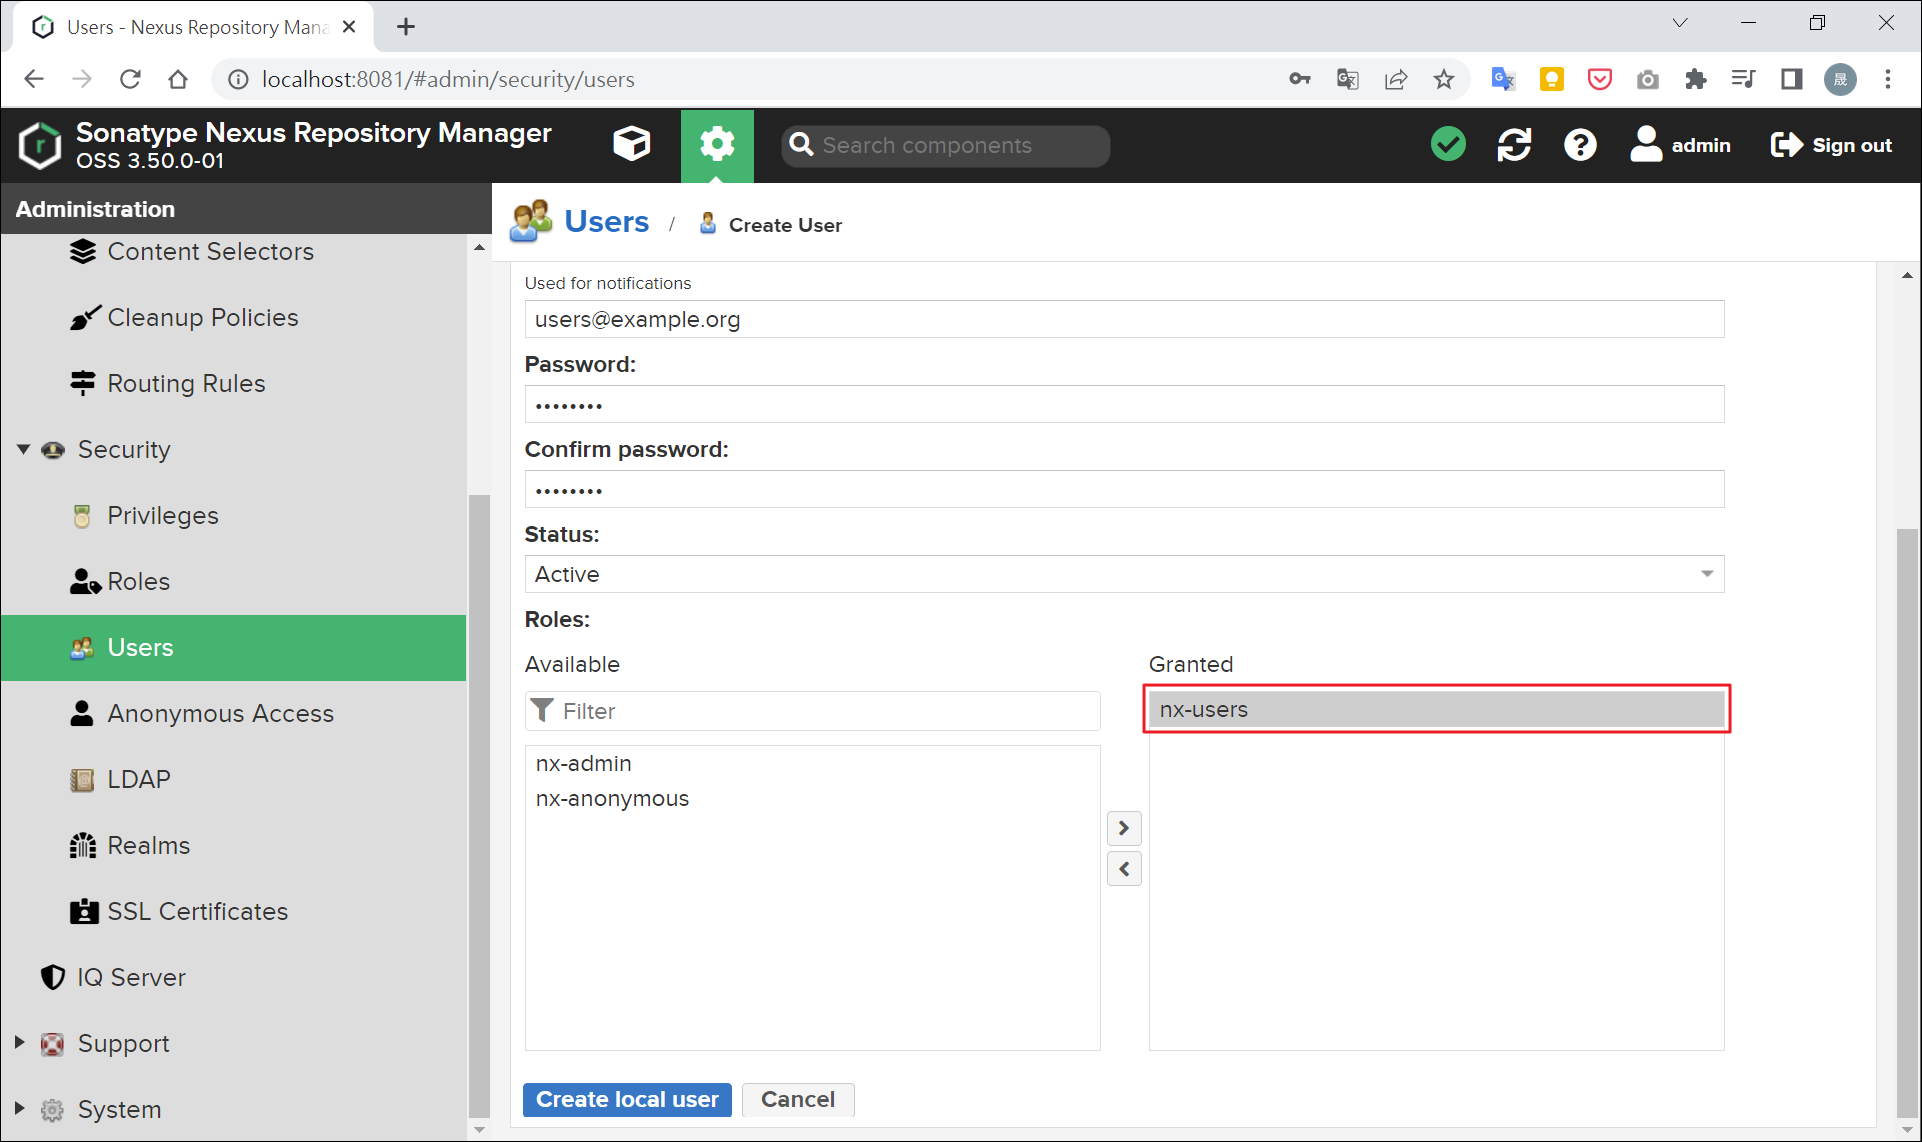
將上面建立的 Role ID,賦予給這個使用者帳號,如下圖:
完成。
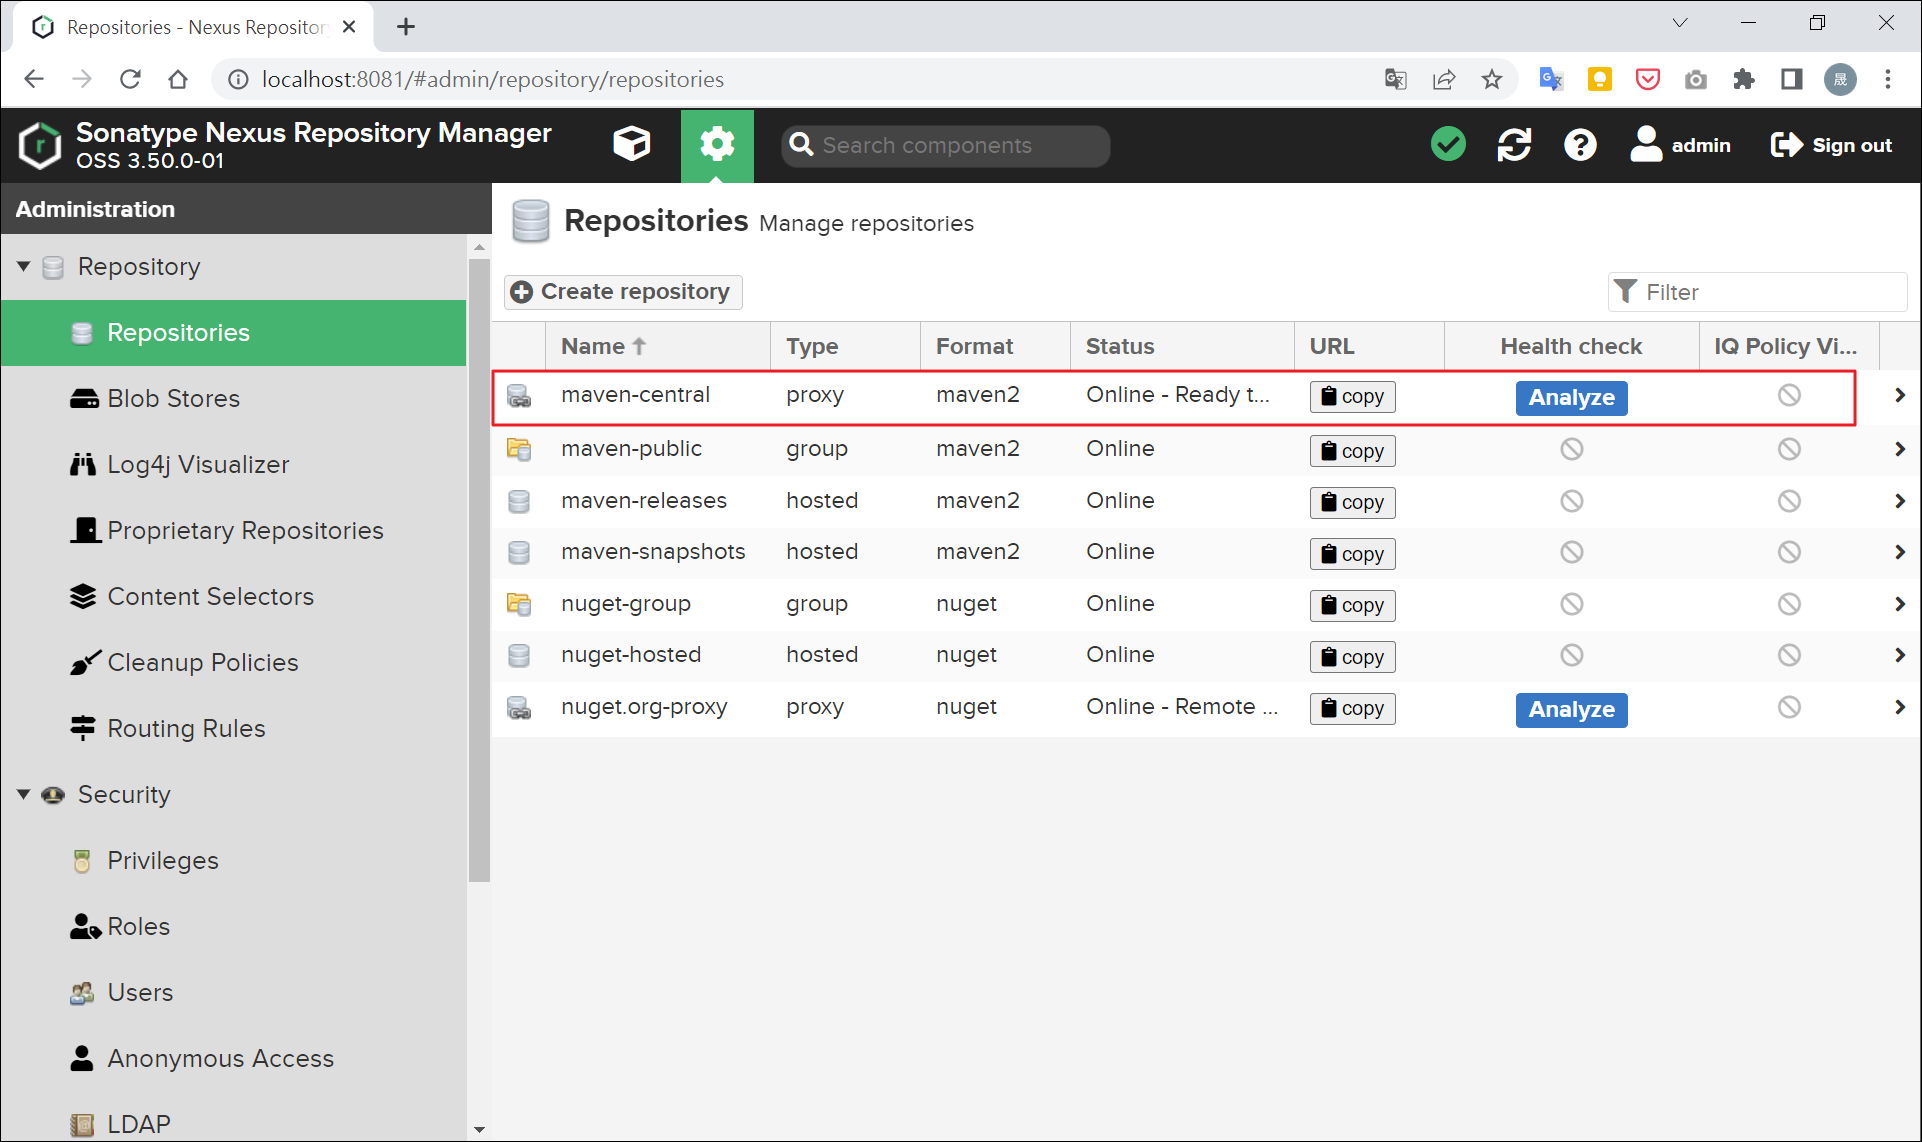
設定 Nexus Repository 連線至 Maven Central Repository
架設好 Nexus Repository 後,需要設定連線到 Maven Central Repository,以便讓 Nexus Repository 代替我們下載需要的套件。所以 Nexus Repository 的角色會是一個中繼站,會存放曾經下載過的套件。
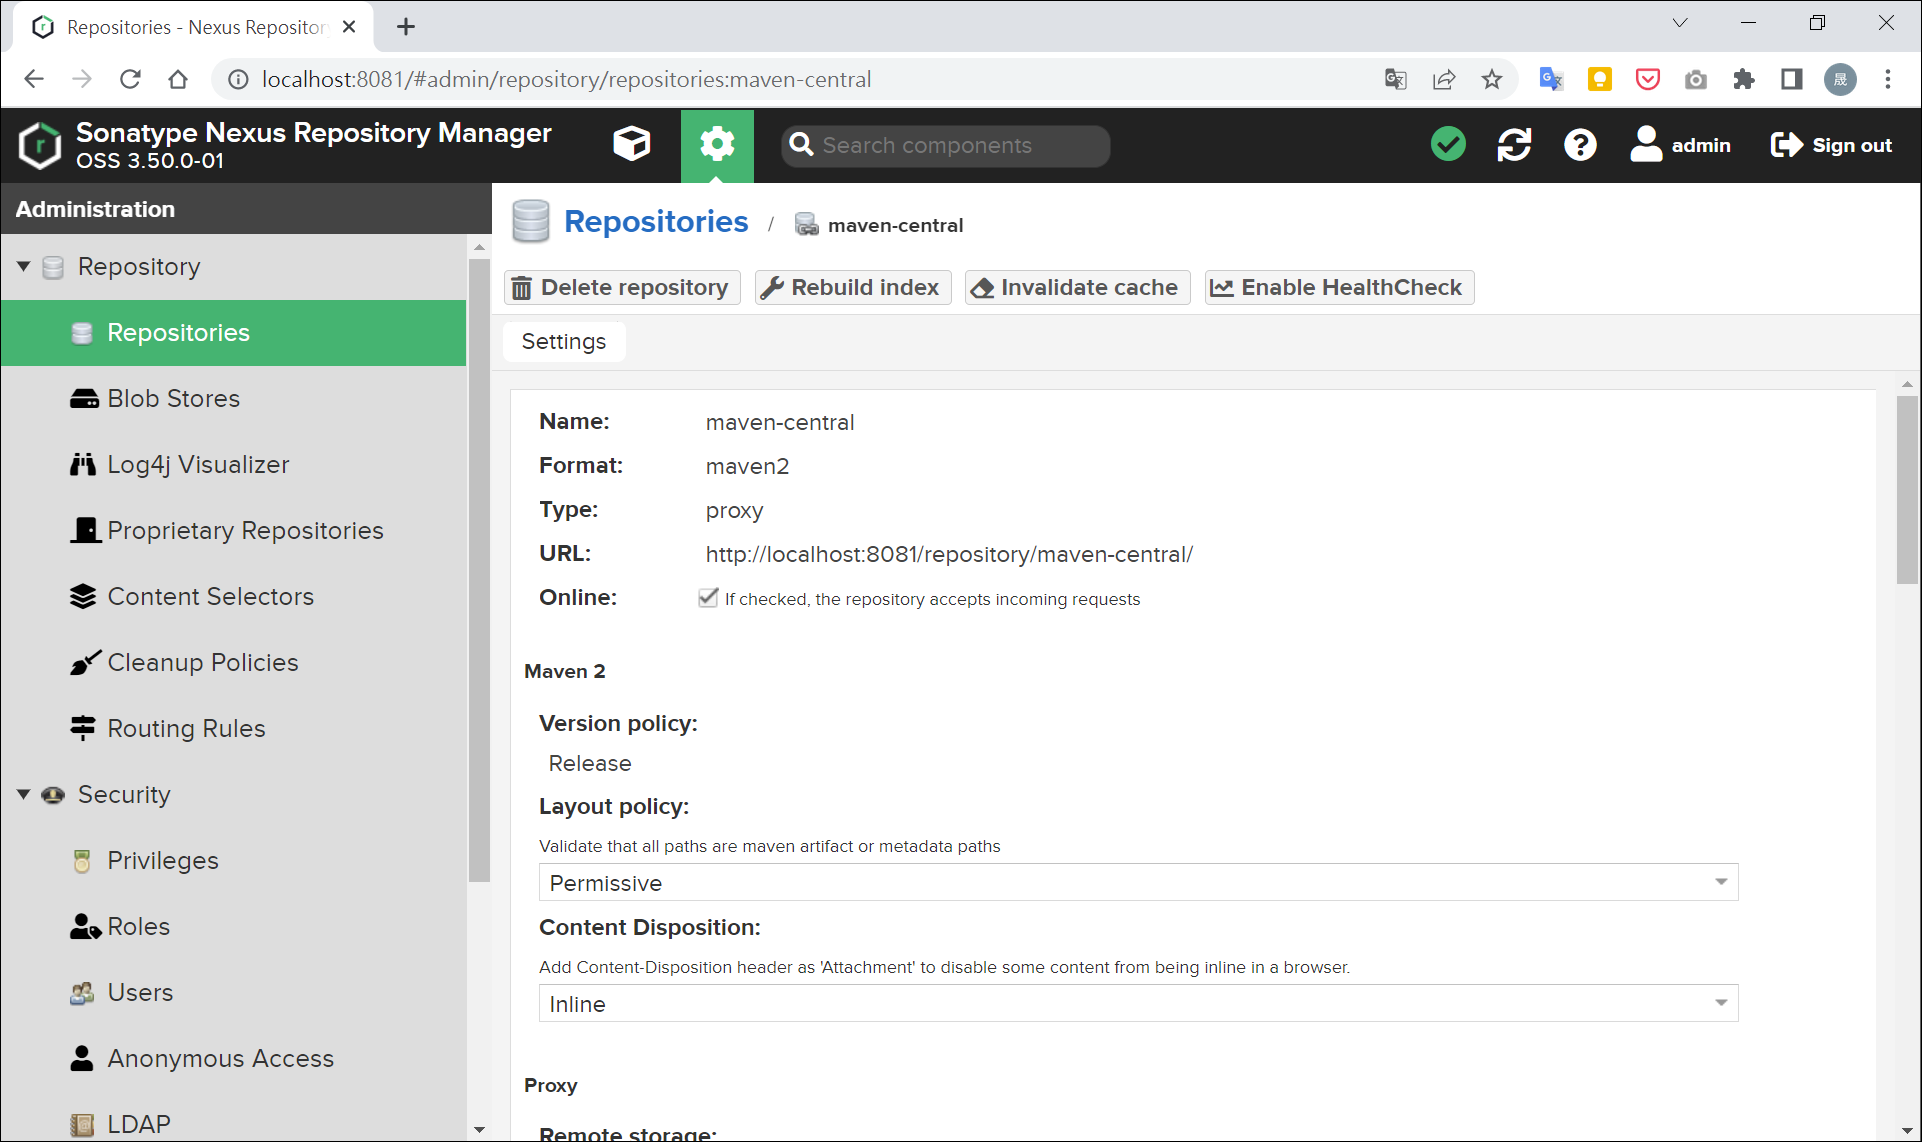
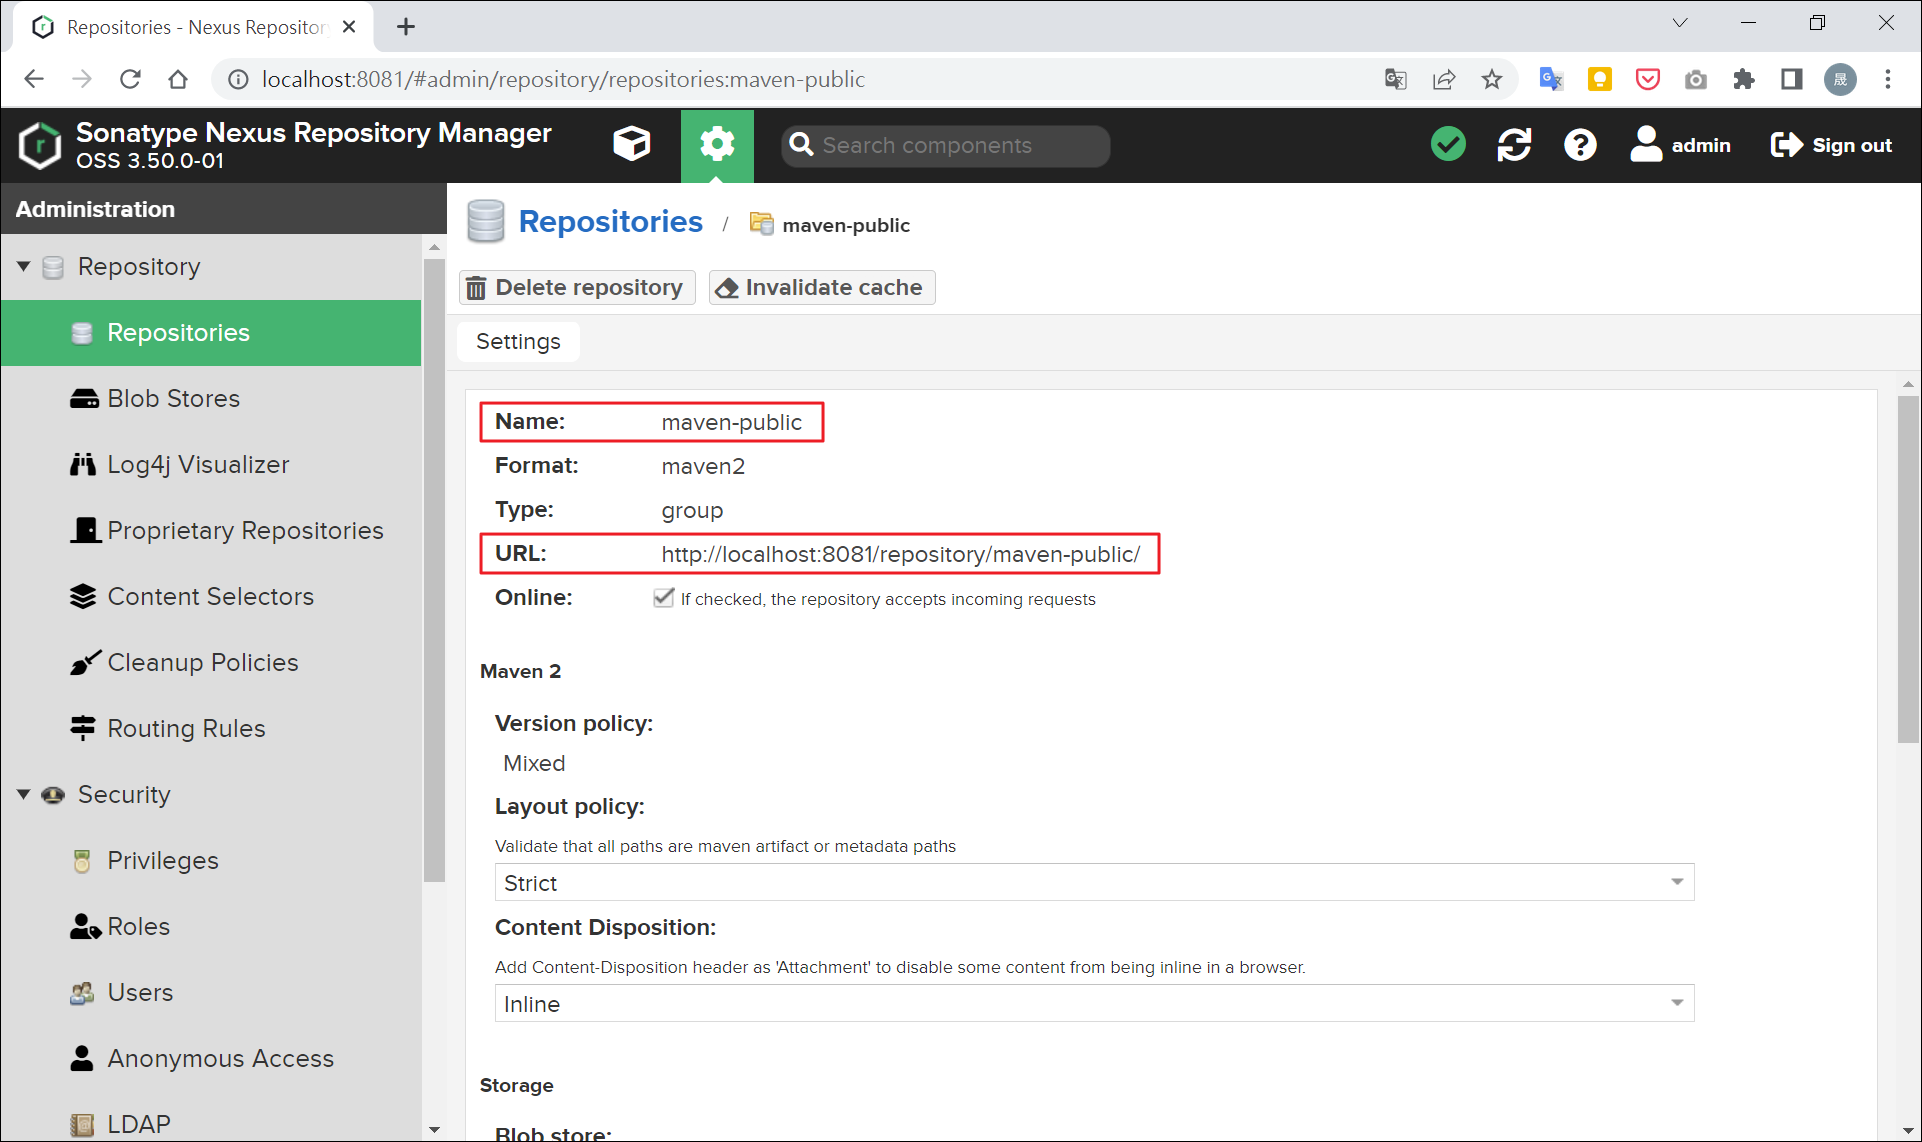
至「Repositories」>「maven-central」設定連線:
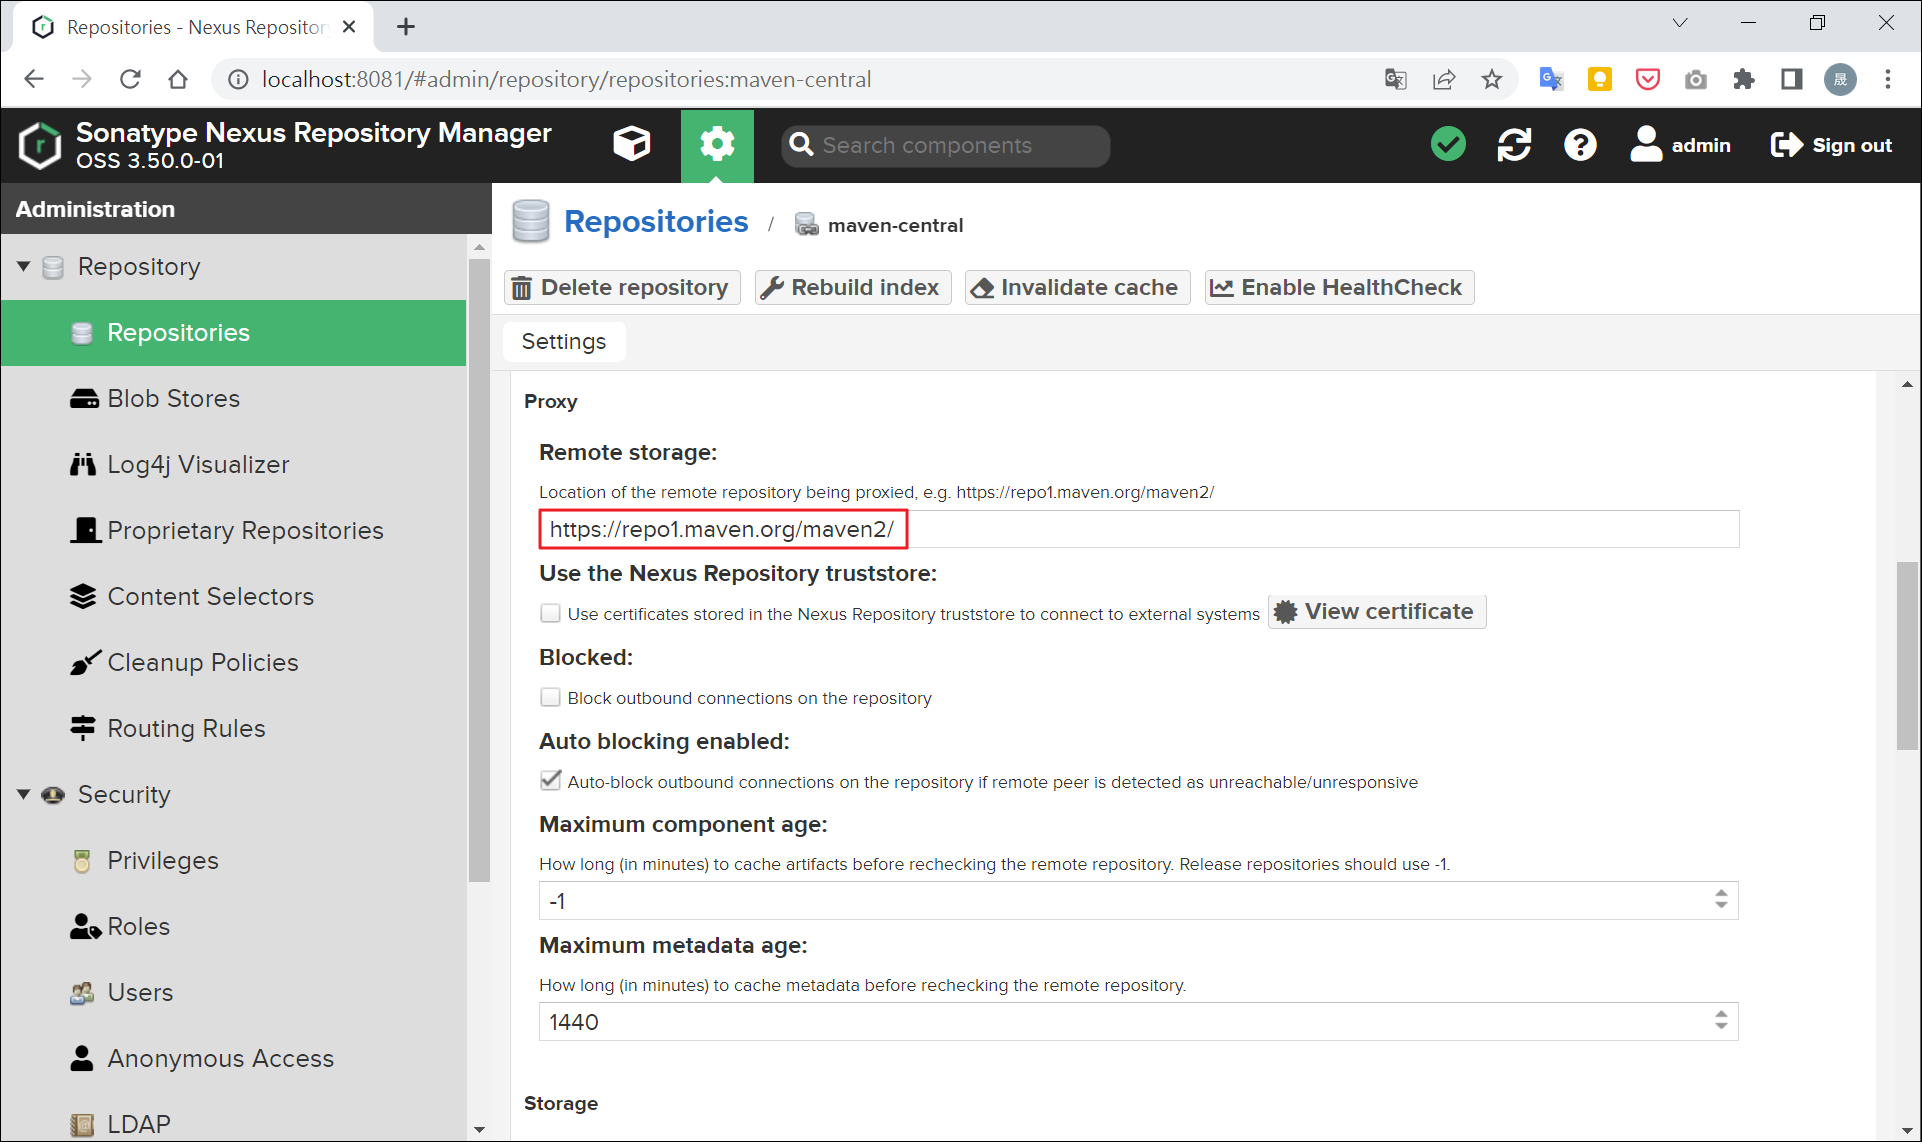
設定 Maven Central Repository 的 URL,為「https://repo1.maven.org/maven2/」,通常預設已直接設定。
Note:
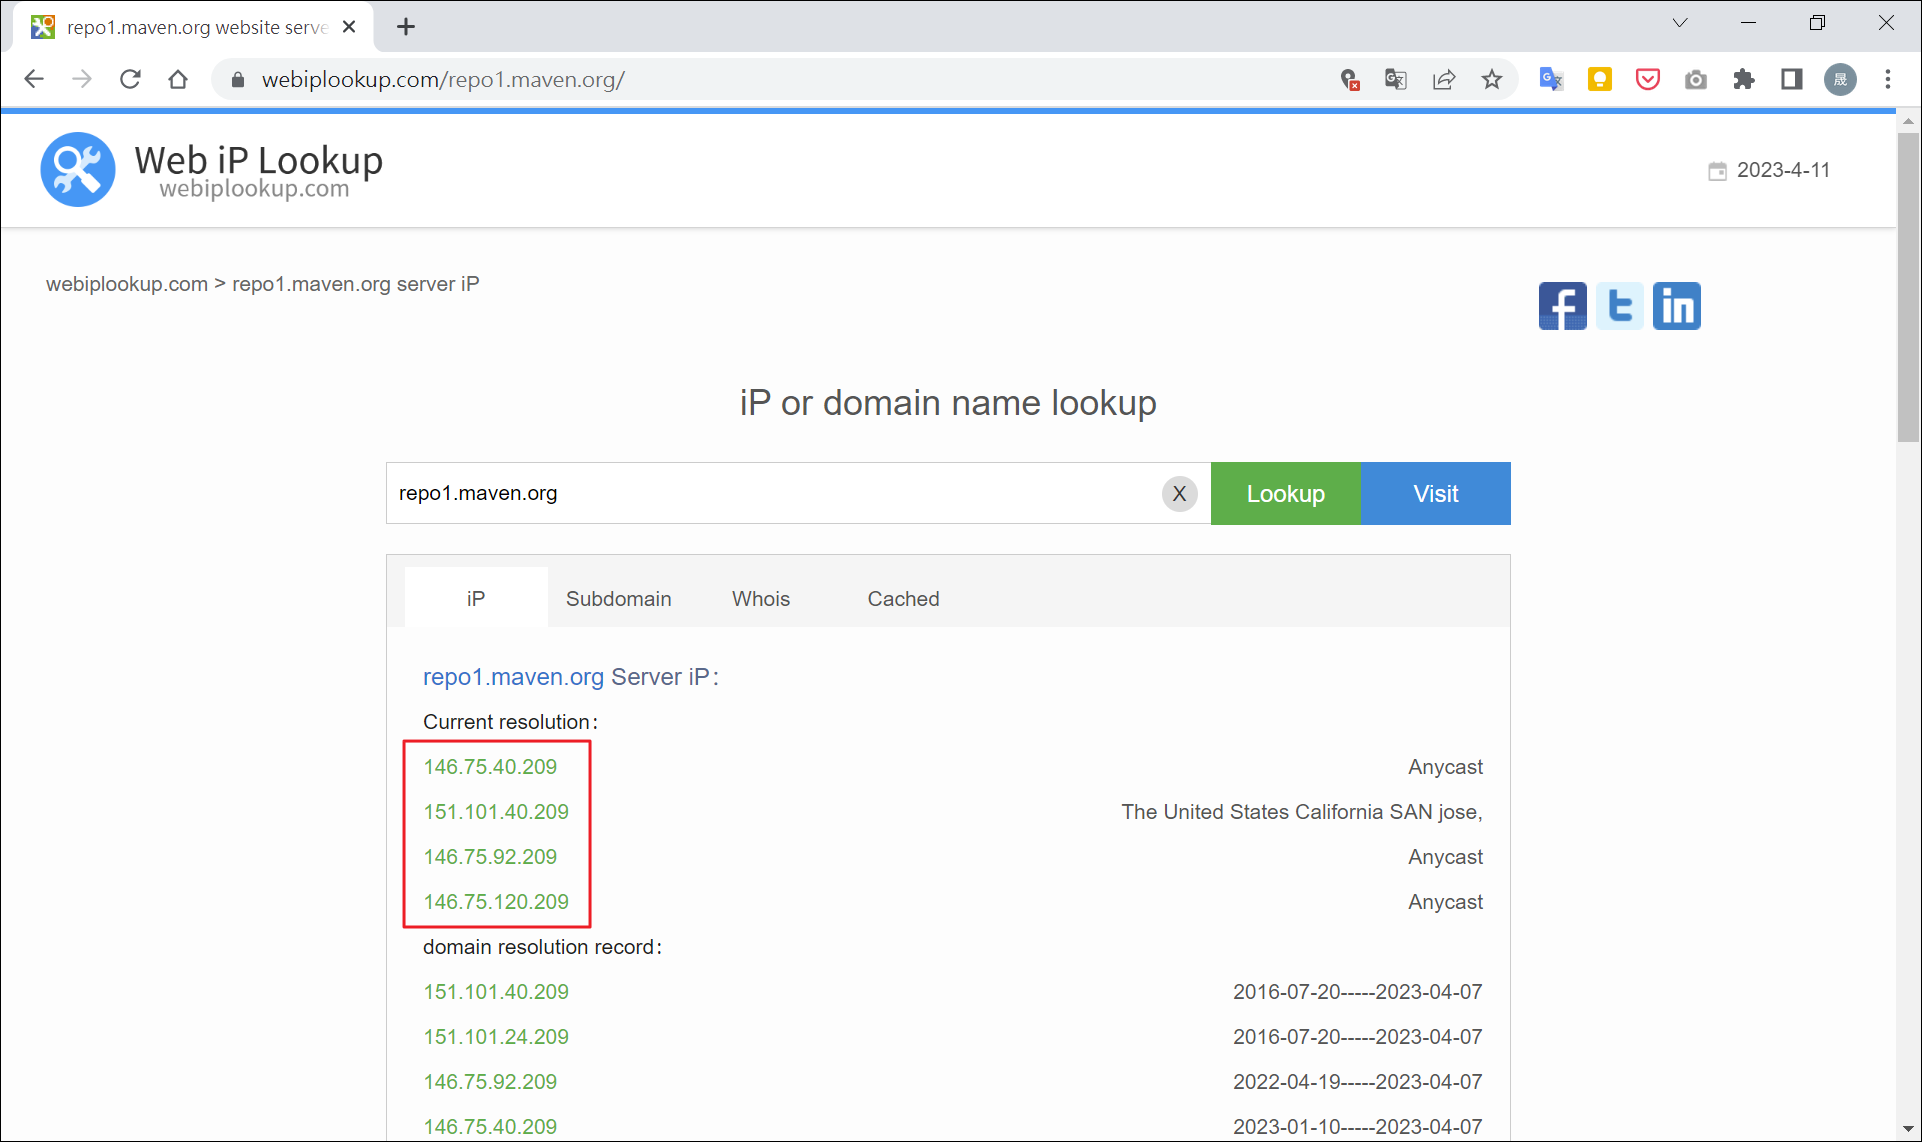
Nexus Repository 的主機需要能夠連線至 Maven Central Repository,公司的防火牆政策需要開啟對「https://repo1.maven.org/maven2/」的阻擋。若要查詢 https://repo1.maven.org/maven2/ 的 IP,可利用 Web iP Lookup 查詢。
設定 Maven 專案連線至 Nexus Repository
完成 Nexus Repository 的架設及所有設定後,在使用者端需要將專案連線到 Nexus Repository。這個設定可以在 Maven 專案的 pom.xml 檔或是 Maven 的 settings.xml 檔,這邊介紹利用 settings.xml 檔做設定,這樣其它的專案都可以共享這個設定。
若是使用 Eclipse 開發可以利用內建的 Maven 設定介面指定 settings.xml 檔路徑。

settings.xml 設定為:
<?xml version="1.0" encoding="UTF-8"?>
<settings xmlns="http://maven.apache.org/SETTINGS/1.2.0"
	xmlns:xsi="http://www.w3.org/2001/XMLSchema-instance"
	xsi:schemaLocation="http://maven.apache.org/SETTINGS/1.2.0 http://maven.apache.org/xsd/settings-1.2.0.xsd">
  <servers>
    <server>
      <id>nexus</id>
      <username>users</username>
      <password>P@ssw0rd</password>
    </server>
  </servers>

  <mirrors>
    <mirror>
      <id>nexus</id>
      <mirrorOf>*</mirrorOf>
      <name>Nexus</name>
      <url>http://localhost:8081/repository/maven-public/</url>
    </mirror>
  </mirrors>

  <profiles>
    <profile>
      <id>nexus</id>
      <repositories>
        <repository>
          <id>nexus</id>
          <name>Nexus</name>
          <url>http://localhost:8081/repository/maven-public/</url>
          <releases>
            <enabled>true</enabled>
          </releases>
          <snapshots>
            <enabled>true</enabled>
            <updatePolicy>always</updatePolicy>
          </snapshots>
        </repository>
      </repositories>
      <pluginRepositories>
        <pluginRepository>
          <id>nexus</id>
          <name>Nexus</name>
          <url>http://localhost:8081/repository/maven-public/</url>
          <releases>
            <enabled>true</enabled>
          </releases>
          <snapshots>
            <enabled>true</enabled>
            <updatePolicy>always</updatePolicy>
          </snapshots>
        </pluginRepository>
      </pluginRepositories>
    </profile>
  </profiles>

  <activeProfiles>
    <activeProfile>nexus</activeProfile>
  </activeProfiles>
</settings>
以下將說明各個設定的目的:
-
<server>標籤指定使用者帳號、密碼。 -
<mirror>標籤指定 Nexus Repository 的 URL,其中必須填 maven-public 這個 Repository 的 URL。讓 Maven 只使用 Nexus Repository,不會去連線到 Maven Central Repository,如下圖:
-
<profile>標籤指定一個 id 為 nexus 的 profile,同時也指定 Nexus Repository 的 URL。 -
<activeProfile>標籤為啟用 nexus 這個 id 的 profile。
測試
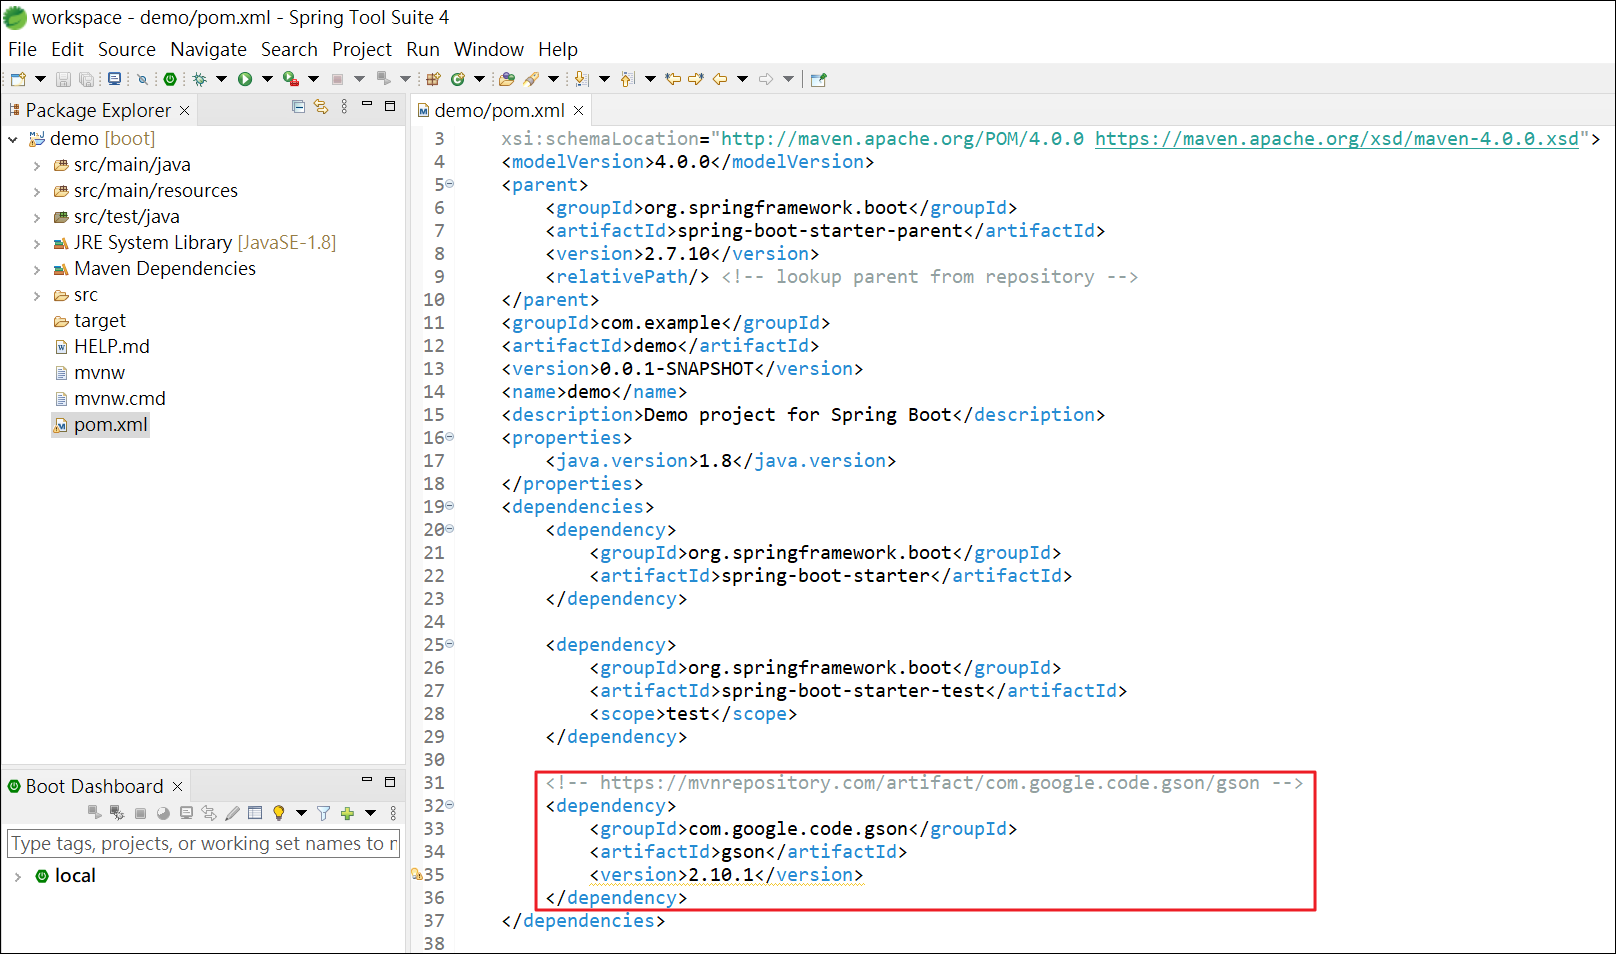
在 Maven 專案的 pom.xml 添加一個 gson 的 dependency,如下圖:
存檔後檢視 Nexus Repository 是否有下載到套件,如下圖:
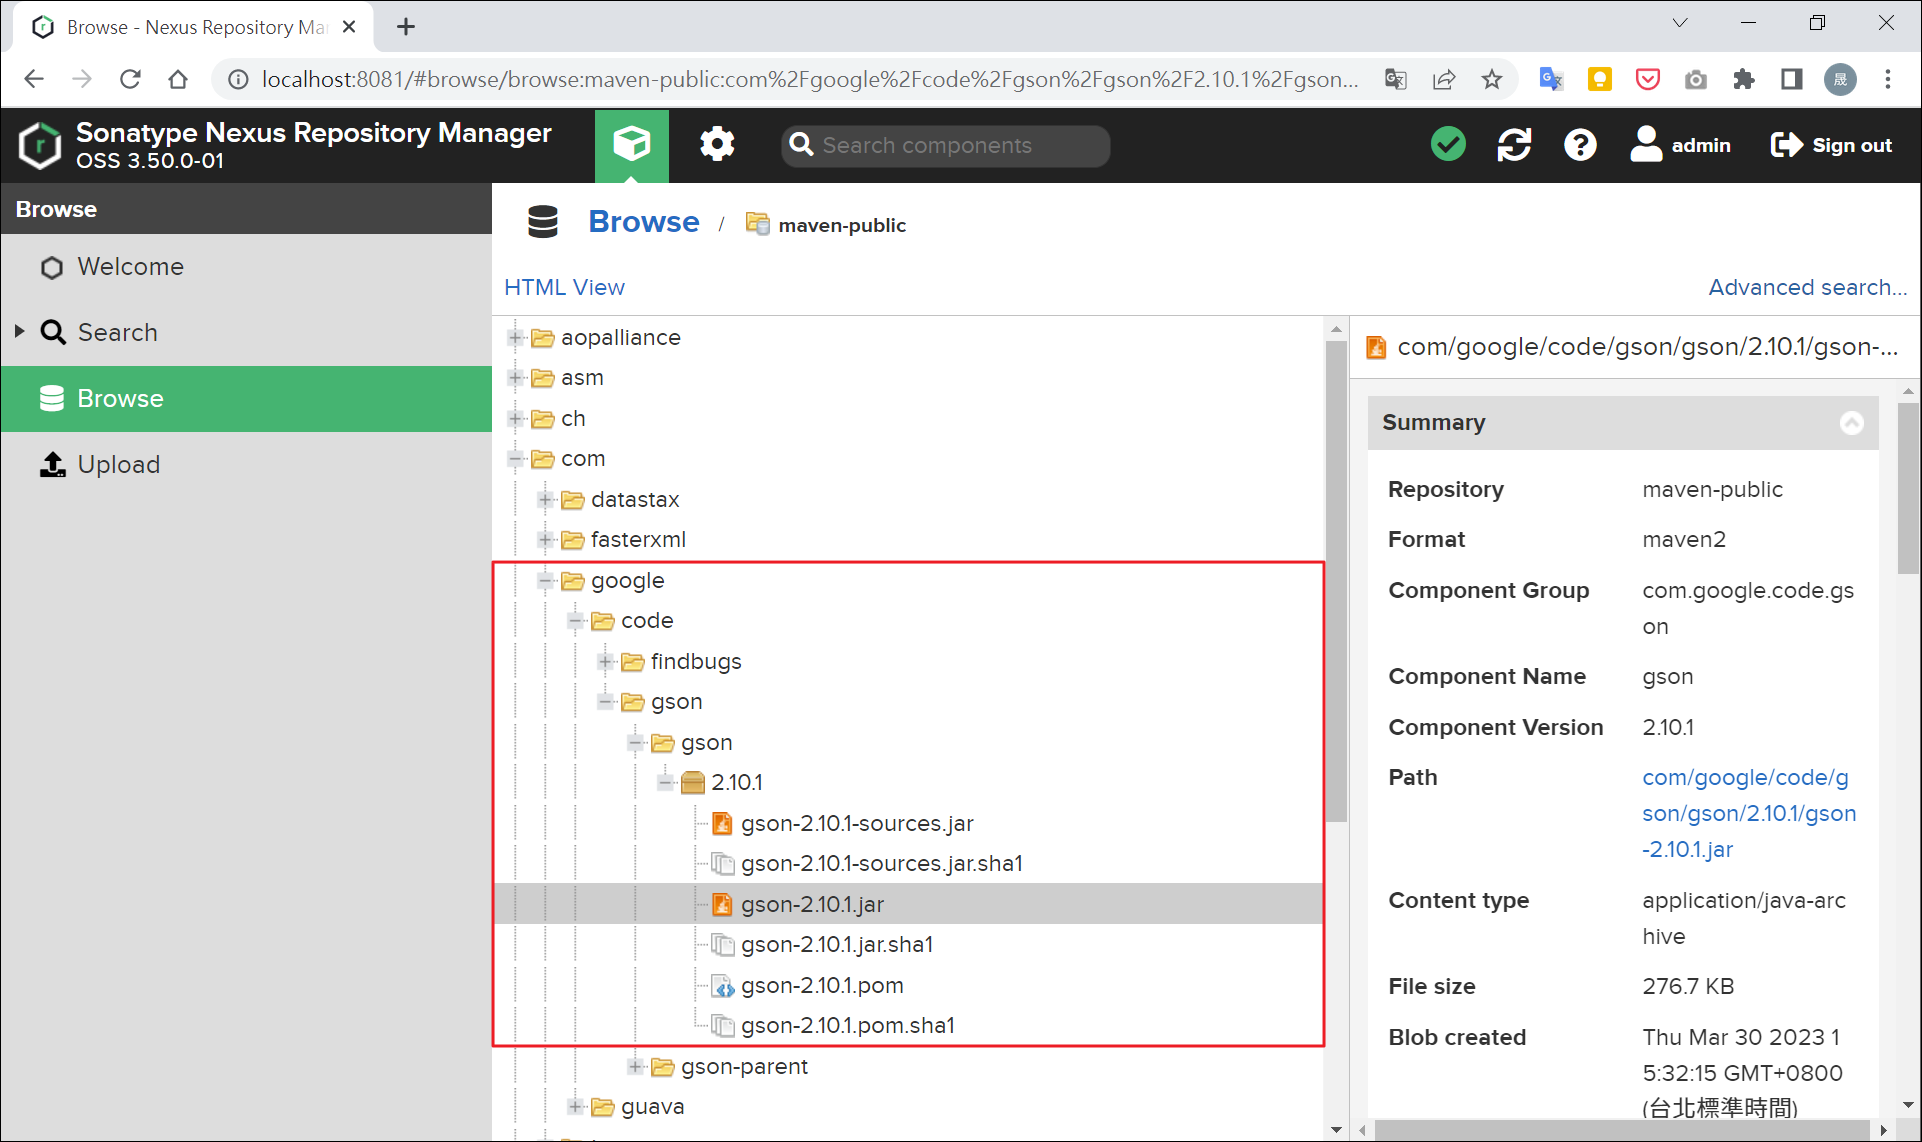
結果確實是透過自己建的 Nexus Repository 下載到 gson 套件,專案再透過 Nexus Repository 將套件下載到開發者的本機。